Deep Side Bends: The Hidden Key to Your One Arm Handstand
Stuck on your One Arm Handstand? The problem isn't your strength. It's your side bend. Here's how to fix it.
TABLE OF CONTENTS
1. Understanding the Deep Side Bend
1.1. The Misunderstood Prerequisite
My journey to becoming a hand balancing coach was not a straight line. I was told to quit gymnastics at age 10 because I couldn't hold a Handstand when kids my age were holding for over a minute. That rejection ignited a fire to prove I could master the most difficult skills, leading me to the One Arm Handstand (OAHS). The single hardest part of that journey was learning the Side Bend—the subtle, precise lateral flexion required to align your body over one hand. For years, I believed I simply lacked a natural talent for it. But talent is a myth. The real issue was a gap in knowledge and coaching. The Side Bend is the secret key, the component almost everyone overlooks. It doesn't come easily to anyone, but with the right progressions and focus, you will master it.
1.2. What is a Deep Side Bend?
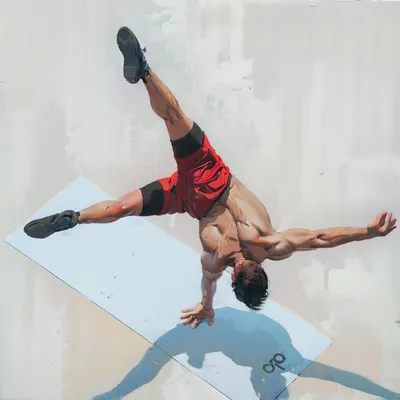
A Deep Side Bend is an advanced Handstand drill. It is not just a preparatory exercise; it is an essential pillar on the path to the One Arm Handstand. Mastering it opens doors to more advanced skills and grants an incredible freedom of movement to your entire practice. It's a unique blend of strength, specific Coordination, and Mobility through your back, obliques, and hips. Think of it less as a stretch and more as an act of controlled, active alignment under load.
1.3. Why It's Non-Negotiable for the One Arm Handstand
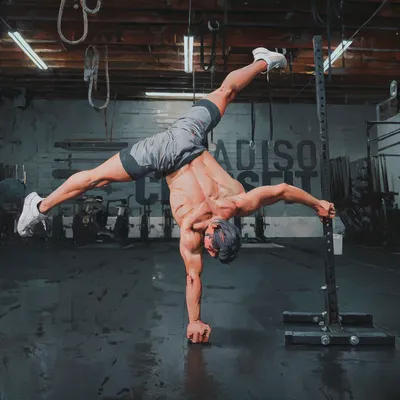
In a One Arm Handstand, your supporting shoulder must be stacked directly over your hand. That part is obvious. But to achieve effortless balance, your opposite hip must also align over that same hand. The only way to achieve this Joint Stacking is through a clean, controlled Side Bend. The bend itself is not massive. We don't need a huge angle. What we need is for that small, precise movement to be second nature—an automatic adjustment that requires zero mental energy. The OAHS is already mentally taxing. If you're stressed about the Side Bend, every other component will feel exponentially harder. We drill deep side bends—working a much larger range of motion—so that the small bend needed for the OAHS happens flawlessly, without a second thought. It's about over-preparing so the main event feels easy.
2. Mastering the Mechanics of the Side Bend
2.1. The Key: Bending in the Right Spot
The most common mistake is bending from the wrong place. The Side Bend must be isolated between your last rib and your hip bone. The higher you initiate the bend, the more efficient your Handstand becomes. This is only possible if you maintain a locked supporting elbow and full Scapular Elevation. If your side muscles aren't engaged, you'll compensate by bending lower or, even worse, collapsing the supporting shoulder. A high bend means less of your body's mass moves laterally, so you lift less weight. This makes the movement feel lighter, both in two-arm drills now and on one arm later. If you bend from the shoulder, you put immense, dangerous pressure on the joint, risking serious injury and teaching your body a faulty Movement Pattern that will be nearly impossible to unlearn.
2.2. It's Not About Flexibility, It's About Coordination
Athletes often blame a lack of side Flexibility for their struggles with the Deep Side Bend. While some Mobility is required, the primary limiting factor for most is Coordination. You are likely flexible enough, but you lack the Mind-Muscle Connection to engage the correct muscles while relaxing others. Figuring out how to pull yourself deeper into the position using precise muscular control takes practice and relentless self-analysis. The best way to gain the specific Active Flexibility for this skill is by practicing the skill itself—doing more side bends on your hands. However, do not dismiss upright side stretches; they are a critical part of your warm-up to prime the body for the work ahead.
2.3. Establishing Your Foundation: Overall Body Position
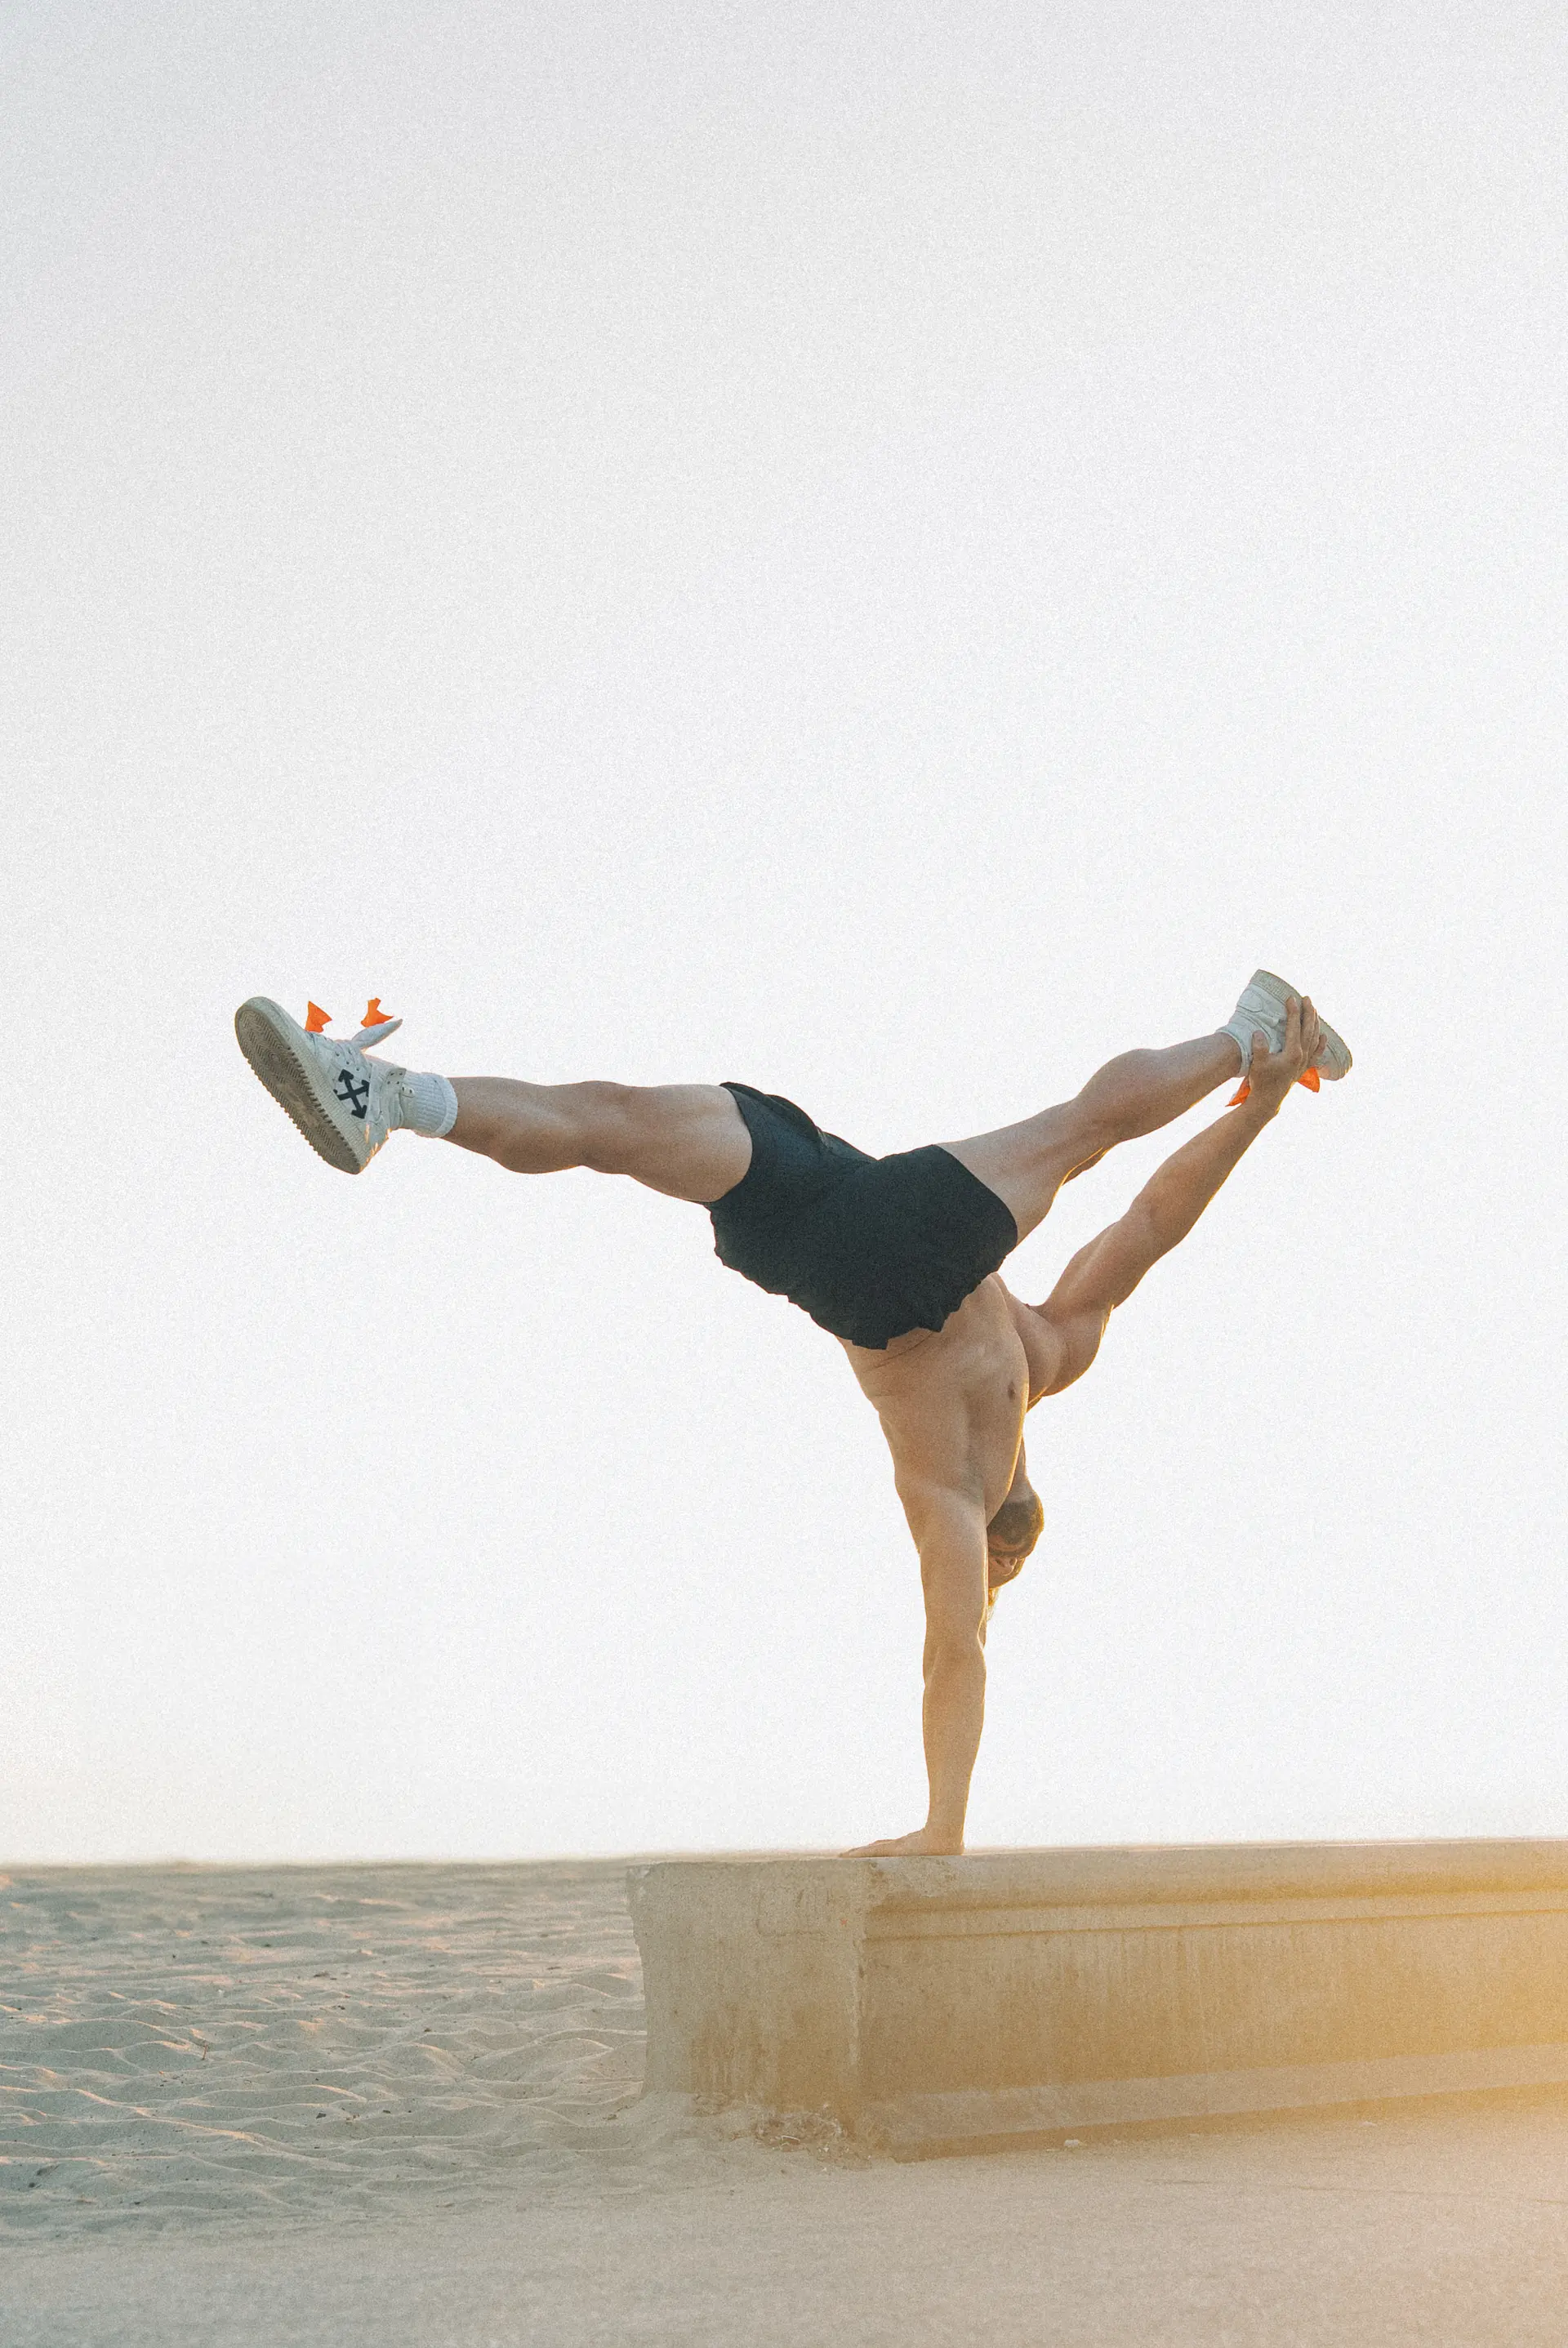
Your setup dictates your success. Place your hands shoulder-width apart, or a fraction wider for more control. This is not a Japanese Handstand; keep the width minimal. As in any Handstand, elbows must be locked and scapula fully elevated. Push as tall as possible. Your gaze should be fixed on the floor between your hands. Do not look at the hand you are bending towards; that's a different drill for a different purpose. The goal is to keep your head and shoulders as immobile as possible. To an outside observer, it should appear as if your upper body weight remains perfectly centered, even as your hips and legs shift.
2.4. Your Legs Are Stabilizers, Not Dead Weight
Your hips and legs must become a single, compact, and active unit. Open into your fullest Straddle Handstand, externally rotate the legs, and actively push against your end range of motion. This is non-negotiable. Opening the legs lowers your Center of Mass, reducing the amount of weight you have to lift laterally—just as holding a dumbbell close to your body is easier than holding it with a straight arm. Pushing against your end-range acts like a wall, locking your legs into the hip sockets. If you lose this active push, your legs will wobble, destroying your points of reference and making precise adjustments impossible. If you don't learn to stabilize your legs now, you will never stabilize them in a One Arm Handstand.
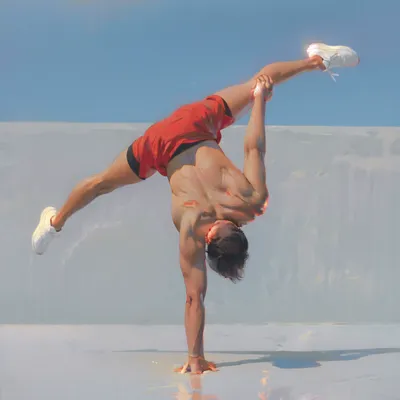
2.5. Training Without a Middle Split
What if you want to train for the OAHS but your Middle Split is undeveloped? There's a point where a lack of Flexibility makes the standard Deep Side Bend unsafe due to the excessive pressure on the shoulders. In this case, you must train in the Diamond Handstand position. Open your legs as wide as you can, externally rotate, and bend the knees to bring your toes together. This position gives you all the stability benefits of the Straddle Handstand without being limited by flexibility. The Diamond Handstand also translates perfectly to all standard OAHS variations.
3. Drills and Progressions for a Flawless Side Bend
3.1. Start on Your Feet
Before you even think about getting upside down, master the movement on your feet. Practice standing side bends. Start with hands behind your head, and progress to extending the arms overhead to increase the lever and difficulty. These upright drills are perfect for building initial Coordination and safely increasing the workload. As you advance, they become an essential part of your warm-up, priming the Mind-Muscle Connection and preparing your body for the intense demands of the skill.
3.2. Master it at the Wall
The single best way to learn the Deep Side Bend is chest-to-wall. This takes balance completely out of the equation, allowing you to focus 100% on the mechanics of the bend. Get close to the wall, but not so close that your natural pike in the straddle position pushes your hips away and arches your back. Find the distance where your lower back can remain neutral. Start small. The goal here is clean, stable movement, not depth. Both feet must stay in contact with the wall. If one foot lifts, your hips are rotating. Both elbows must stay locked. Monitor the distance between your armpits and the wall; if it increases, your supporting shoulder is collapsing. A great way to track progress is to place a target (like a yoga block) next to you on the wall and tap it with your foot, lowering the target over time.
3.3. Train Close to the Wall
The next step is to practice freestanding, but close to the wall. This allows you to cut out the mount and dismount, focusing all your energy on the side bends themselves. The wall provides instant feedback. If you make a mistake and your hips rotate, your foot will touch the wall, and you'll know immediately. Remember, the goal is not to survive a few sloppy reps; it's to execute perfect reps. One perfect rep is infinitely more valuable than five wonky ones. This is how you build good habits, not just survive the set.
3.4. Advanced Progressions: Never Stop Improving
Even when your side bends are solid and you're focusing on OAHS attempts, you will continue to drill them as part of your warm-up. So why not keep improving? To increase the challenge, practice non-alternating side bends, performing multiple reps on one side before switching. This fatigues the working side faster and builds the specific Handstand Endurance needed for longer one-arm holds. While you might see others using ankle weights, I strongly advise against it. The added weight applies excessive, unsafe pressure to your back and shoulders and drastically alters your balance. It will lead to confusion and injury, not progress.
4. Common Mistakes That Are Killing Your Progress
4.1. Supporting Shoulder Collapse
This is the cardinal sin of the Side Bend. If your supporting shoulder collapses forward or your elbow bends, your entire structure crumbles. You lose the ability to isolate the bend and control the position. The fix is non-negotiable: Scapular Elevation. If you cannot maintain it, you are not ready for this depth or variation. Take a step back and work on easier drills. There is no shortcut around this.
4.2. Hips Rotating, Not Bending
This is a serious issue that often stems from a lack of Coordination. Instead of initiating a true lateral bend, the athlete rotates the hips and legs to move the foot sideways. This is a compensation, a fake progress that completely bypasses the muscles you are trying to train. If this is you, return to the wall immediately. Drill small, slow, and perfectly precise bends with both feet touching the wall. Do not leave the wall until you can execute a pure, rotation-free [c]Side Bend[/e].
4.3. Chasing the Floor
Focusing on touching your foot to the floor is a vanity metric that will destroy your form. The goal is not to touch the floor; it's to remain clean, aligned, and in control. Pushing for extreme depth at the cost of alignment is sacrificing long-term mastery for a short-term trick. It's a fool's errand. Master the clean movement first; depth will come as a byproduct of control.
4.4. Rushing the Process
This is a long-term project. Give your body a chance to adapt and grow. Stay at the wall for twice as long as you think you need. This is not a race. The more time you spend perfecting the fundamentals, the faster your progress will be when you move to more advanced skills. Skipping essential steps here will force you to come back and fix them later, ultimately moving you further away from your goal.
5. Forge Your Path to the One Arm Handstand
5.1. Programming Deep Side Bends
Deep Side Bend training must be a consistent part of your Handstand practice. When first starting, place them towards the end of your session, right before conditioning. You want to be fully warm, both physically and neurologically. As you get better, side bends will transition from being a primary skill to a key part of your warm-up, with the time and energy saved being reinvested into your OAHS drills. But they will never disappear from your routine. Respect recovery. The unique pressure from side bends requires more recovery than a standard Handstand. Start with one or two sessions per week and slowly increase the volume. Listen to your body.
5.2. What Comes After
The immediate goal after mastering the Deep Side Bend is the One Arm Handstand. The long-term dream is the One Arm Flag. This is an elite skill that requires incredible strength and technical precision. To begin bridging the gap, elevate your non-supporting hand on a block. In a Straddle Handstand, shift your weight, connect your face to your supporting shoulder, and perform your Miami Side Bend. This position dramatically increases the pressure on your supporting side, forcing you to work harder to stabilize and balance. Over time, increase the elevation, add reps, and introduce static holds. Every drill must be done with perfect form. There is no faking your way to a One Arm Flag.
5.3. The Final Rep
The path to the One Arm Handstand is a testament to the power of breaking down a complex goal into its fundamental components. The Deep Side Bend is a perfect example of a non-negotiable building block that requires dedicated work on Strength, Flexibility, and Coordination. Nothing will improve overnight. Do not train to perfect this skill by tomorrow. Train to get a fraction better, a little cleaner, and a bit more controlled every single day. The process is the prize.
Get to work.