Unlock Your One Arm Handstand: The Fingertip Hold Guide
Stop training your OAHS wrong. This single drill is the missing link to one-arm balance. Here's how.
TABLE OF CONTENTS
1. The Critical Flaw in Your One Arm Handstand Training
1.1. Why Your Progress Has Stalled
Let's be direct. If you're chasing the One Arm Handstand (OAHS), you've probably imagined a simple path: get good at a two-arm Handstand, then take one hand away. This is a fantasy. The OAHS is a complex beast of strength, alignment, and brutal self-discipline. The most common failure I see is not a lack of effort, but a lack of correct effort. The Stretched Out Fingertips Handstand is a perfect example. Doing this drill with poor form is tempting because it feels easier, but it’s a dead end. If you don't execute it with surgical precision, it offers zero transfer to a real One Arm Handstand. You are simply practicing how to fail. The discipline to do things right, especially when you train alone, is what separates those who achieve this skill from those who are forever stuck.
1.2. The Deception of Fingertip Pianos
For decades, the traditional Fingertip Piano Handstand has been the go-to progression. I've always been vocal about why this is an inefficient, and often detrimental, approach. Yes, it can work—just as you can knock down a wall with your fist if you hit it enough times. But it's neither smart nor healthy. The core problem with piano holds is that they almost universally encourage the free shoulder to hike up. This is the nemesis of the OAHS. When your free shoulder elevates, your latissimus dorsi engages, pulling your hips out of the crucial Side Bend and back to a parallel, unstable position. Worse, the shoulder doesn't just go up; it travels back, initiating a rotation you cannot stop. You fall, every time. This isn't a strength issue; it's a Movement Pattern flaw that you are burning into your Neural Adaptation with every bad rep.
2. Mastering the Stretched Out Fingertips Hold
2.1. The Correct Execution
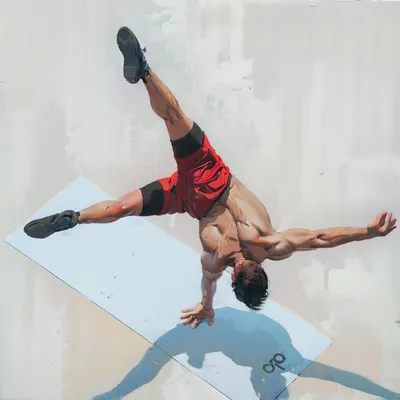
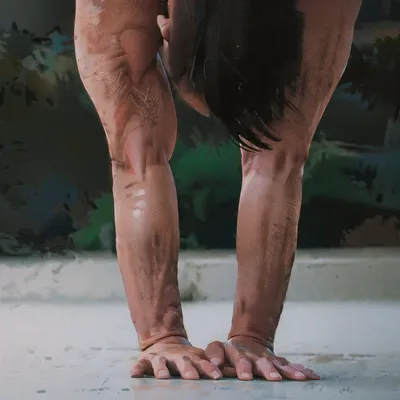
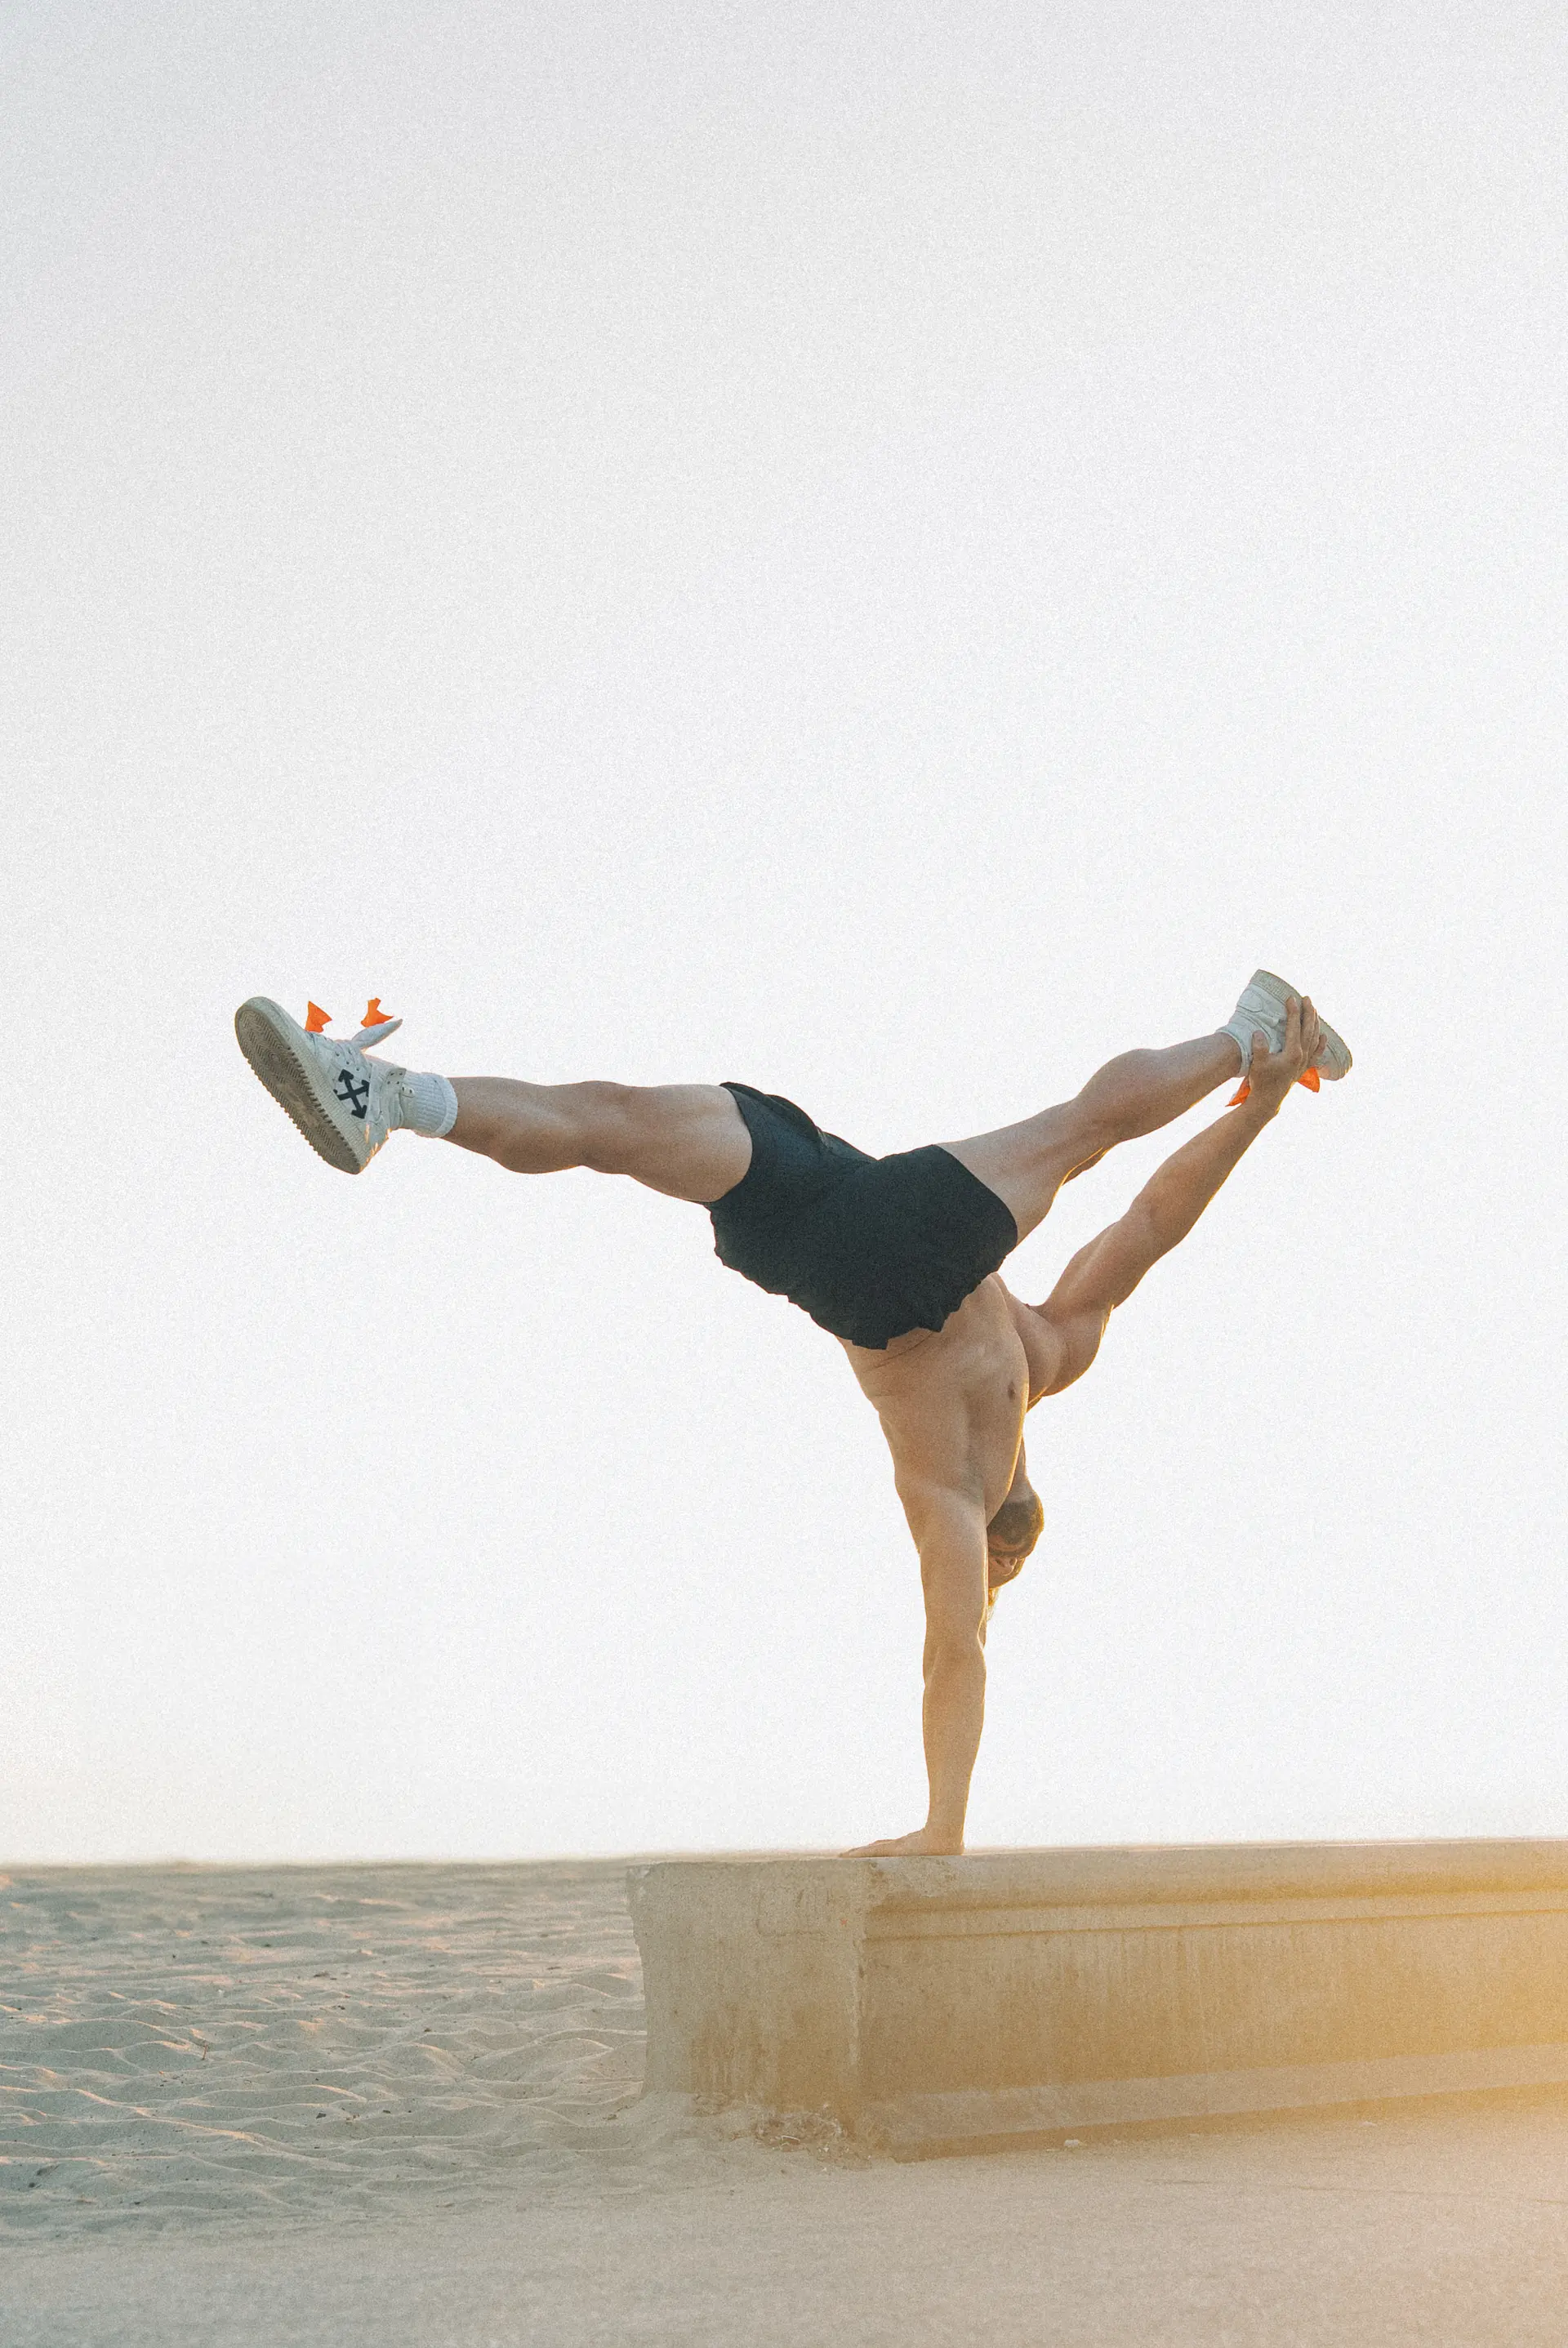
This is not just an exercise; it's a diagnostic tool for your alignment. The goal is to move the free hand out to the side, resting on the fingertips, while keeping the rest of your body absolutely immobile. The arm moves, nothing else. From a stable two-arm Handstand, initiate the Weight Shift over your supporting hand. The goal is to feel immense pressure on the pinky-finger side of that hand—almost like you're about to cartwheel out. Keep looking at your supporting hand, ensuring your head stays connected to your supporting shoulder. This maintains your line. To move the free hand, you must bend the elbow slightly, as if a string is pulling it out to the side. This movement must be completely isolated. Any change in your hips, shoulders, or core means you've failed the rep. Film yourself. The camera does not lie.
2.2. The Free Shoulder Solution
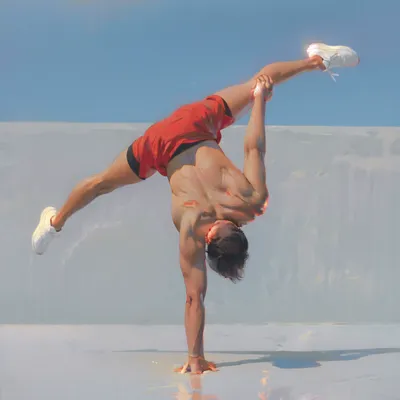
The reason the Stretched Out Fingertips Handstand is so effective is because it brutally punishes the mistake that the piano hold encourages. By pushing the free hand as far away from your body as possible, your free shoulder is forced to stay down. It is anatomically impossible to reach far out to the side with an elevated shoulder. This drill trains your lats to remain relaxed and teaches you to maintain the critical Side Bend[/e] required for a stable OAHS. This is not just a hold; it is an active lesson in [c]Scapular Stability and control. You are building the correct Movement Pattern for one-arm balance.
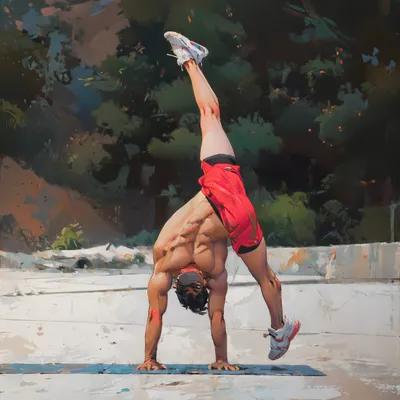
2.3. Integrating Leg Movements
Once you establish a solid hold, the next challenge is introducing leg movements, such as moving from a Straight Handstand to a Straddle Handstand. This will test your Core Stability to its absolute limit. The goal is complete isolation. The legs move, but the hips and torso remain a statue. This level of Proprioception and control is incredibly difficult to develop. Practice this on two hands first. You can even lie on your back and mimic the movement to build the Mind-Muscle Connection required to lock your hips in place while your legs move freely. This is advanced work that demands your full attention.
3. Progressions and Block Work
3.1. Are You Ready for This Drill?
The Stretched Out Fingertips Handstand is not for beginners. Attempting it too early will only lead to frustration and bad habits. You need a rock-solid two-arm Handstand, proficiency in basic block drills like Miami Floor Combinations, and the foundational Straight Arm Strength to perform assisted one-arm shrugs in an L-position. If you don't have these prerequisites, your time is better spent building them. If you do, it's time to get serious.
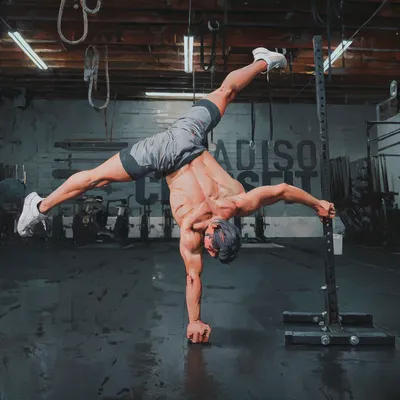
3.2. Dominating with Handstand Blocks
Training on Handstand Blocks offers significant advantages for OAHS work. They are kinder on your wrists, as you can set them at a slight decline to reduce the angle of extension. More importantly, gripping the blocks provides three-dimensional Fingertip Control. You can not only push with your fingers to correct a forward lean but also pull to save yourself from falling backward. Once you adapt to blocks, you'll understand their superiority for one-arm skills. When using blocks for this drill, you have two strategic options for your free hand:
- Hand on a third block: This elevates the free hand, bringing you closer to the true OAHS position. It's an excellent modification if you lack the Flexibility for a deep Side Bend or have tight lats.
- Fingers on the floor: This is a powerful corrective drill. By forcing you to reach for a lower surface, it makes it impossible to hike your free shoulder up. If that shoulder comes up, you simply won't reach the floor. This drill ruthlessly enforces correct form.
3.3. Conquering Imbalances
It is absolutely normal to have a dominant side. It likely took me a decade of holding a One Arm Handstand to feel no difference between my left and right. Don't let this discourage you; use it strategically.
- #1 Embrace your good side: This side is your pioneer. Use it to learn the feeling of correct alignment, to break new ground, and to fuel your motivation with those first successful holds. It paves the way for your other side to follow.
- #2 Keep total volume equal: This is non-negotiable. Even if your 'bad' side attempts are just getting up and falling, you must match the total number of sets and reps you perform on your good side. Training only one side will create muscular imbalances, torque your spine, and leave you feeling terrible. I know this from painful experience. Respect the volume. Keep it equal.
4. Forge Your Path to One Arm Dominance
4.1. Your Blueprint for Mastery
The journey to the One Arm Handstand is a testament to intelligent, disciplined work. The Stretched Out Fingertips Handstand is not just a step in the progression; it is a gatekeeper that filters out those who chase shortcuts. Master its form, and you master the very alignment that underpins the OAHS. This skill is more than a party trick; it's a world to explore, demanding not just physical power but mental focus and critical analysis. You must own your training, analyze your form, and understand the 'why' behind every drill. This is the path. There are no secrets, only hard, intelligent work. Your body will adapt to the demands you place upon it—so make sure those demands are correct. This is how you build a skill that lasts. This is how you earn it.
Get to work.