One Arm Handstand: The Ultimate Guide to Defy Gravity
Ready to float on one hand? Ditch the bad habits and learn the science. This is your roadmap to the OAHS.
Join as I explain to you How To One Arm Handstand Step By Step. Learn about all progressions needed to build your One Arm Handstand from the very beginning. Build the strength and skill necessary to master the One Arm Handstand the easiest and fastest way possible.
TABLE OF CONTENTS
1. Deconstructing the Impossible
1.1. The Myth of the One Arm Handstand
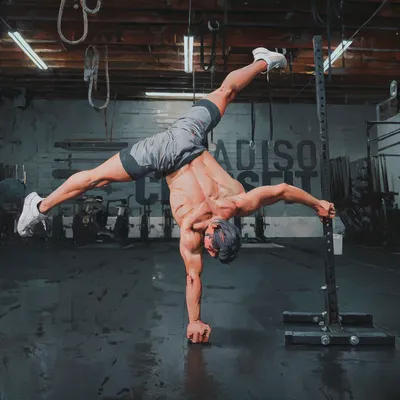
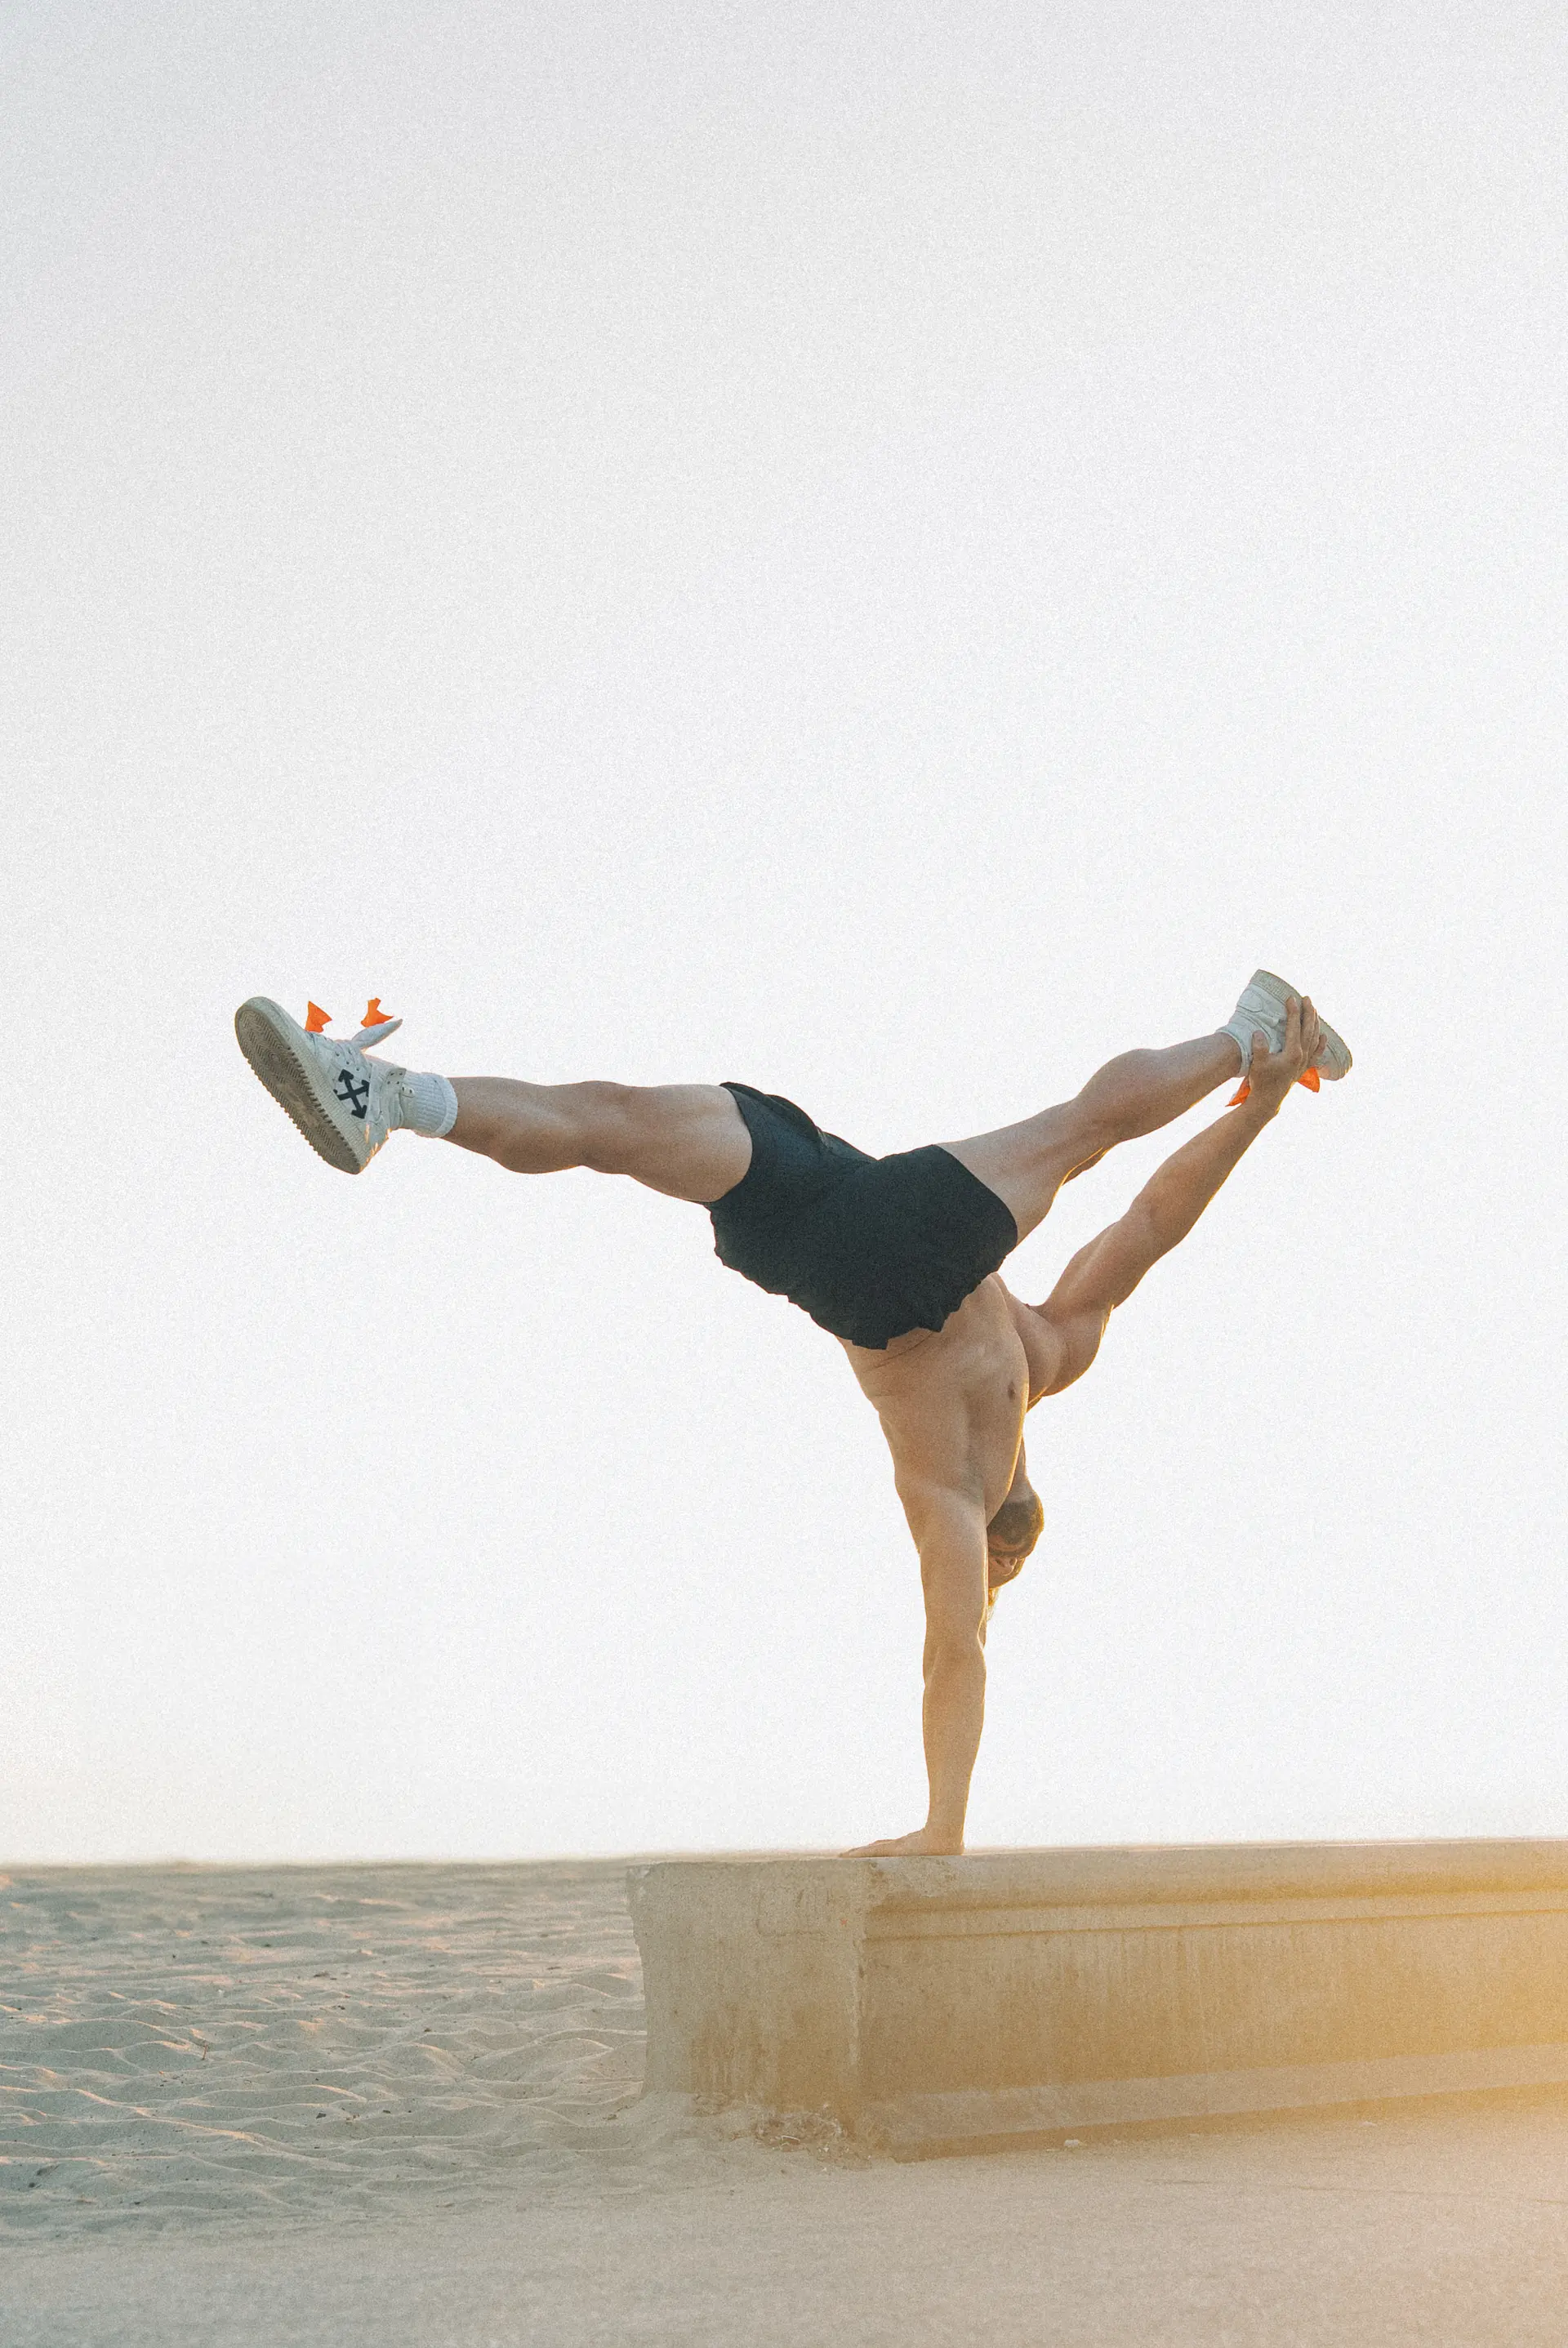
There’s a certain magic to the One Arm Handstand. Something mystical. Even after years of dedicated practice, the image of a human body suspended in space, balanced on a single hand, remains a powerful symbol of ultimate control. If you're on the outside looking in, the skill seems unimaginable, a feat reserved for a select few. But that myth is dying. Yes, with intelligent training, a relentless focus on technique, and a healthy dose of Discipline, you will learn the One Arm Handstand. The question isn't if it's possible—the question is if you are willing to do the work. Twenty years ago, the OAHS was a secret held by elite circus performers and gymnasts, passed down through whispers in forgotten gyms. It was believed you had to start at age five. Today, thanks to a new generation of coaches and a deeper understanding of Biomechanics, the path is clear. It’s no longer a secret. It’s a science.
1.2. The Two Paths: Prerequisites vs. Reality
Before you dive in, you must be honest about your goal. Are you training for the One Arm Handstand to actually achieve it, or are you using the drills to improve your general Handstand? Both are valid, but they demand different starting points. One Arm Handstand drills are fantastic tools for anyone looking to build Strength and Coordination[/e] in their two-arm hold. But for these drills to be a direct line to the OAHS, your two-arm Handstand must be rock solid. We're talking effortless transitions between a Tuck Handstand, Straddle Handstand, and legs-together positions. Single-leg isolations in all directions should feel easy, with no bent elbows. While skills like the Handstand Push Up, Press to Handstand, and Planche are not mandatory, they bring valuable [c]Straight Arm Strength and Bent Arm Strength[/e] reserves to the table. General fitness is non-negotiable; your body must have the [c]Work Capacity to recover from frequent, intense sessions. If your two-arm Handstand isn't there yet, use these drills as tools, but be realistic. You must learn to crawl before you can run.
2. The Technical Blueprint
2.1. Control, Don't Balance
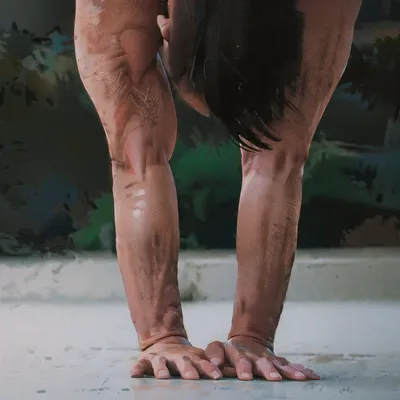
This is the most critical mindset shift you must make. You do not balance a One Arm Handstand. You control it. Balancing is what you do on a shaky railing, using your arms like airplane wings for stability. Control is what you do when you stand on one foot; your ankle makes thousands of micro-adjustments to manage your Center of Mass. It's the same on one hand. Your hand and wrist are infinitely more precise than your foot. Spread your fingers, grip the floor, and take command. This isn't a passive act of finding equilibrium; it's an active, aggressive domination of your position using Fingertip Control. Change your mindset now. You are not balancing. You are in control.
2.2. The Gaze: Your Anchor in the Storm
Where you look dictates your reality. Look at the knuckle of your index finger. While some high-level balancers have personal preferences, the overwhelming consensus is that looking at your supporting hand is the superior choice. Why? It creates a consistent anchor point. The distance between your eyes and your knuckle never changes, whether you're on the floor, on handstand blocks, or on canes. Looking at the floor introduces a variable that can disrupt your entire system. Your gaze is your anchor. Lock it in, and you become independent of your environment.
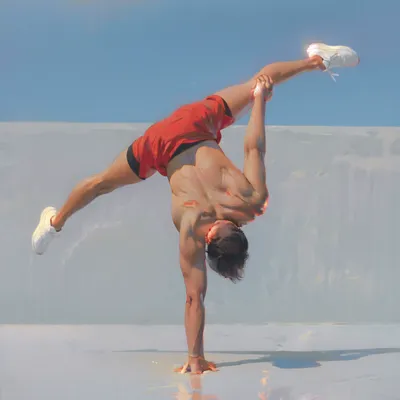
2.3. The Stack: Aligning the Pillars
This is where the architecture of the OAHS is built. The first pillar is the supporting shoulder. You must shift your weight laterally until the supporting shoulder is stacked directly over the center of your supporting hand. This is a new demand on your shoulder. In a two-arm Handstand, the load is shared, primarily engaging your anterior deltoids. Here, the Posterior Deltoid—the back of your shoulder—is forced to become a primary stabilizer. You must prepare it for this new role. As you shift, you must also achieve maximum Scapular Elevation. You thought you pushed tall on two hands? On one, you must push even taller. The second pillar is the opposite hip. You must execute a clean, isolated Side Bend to bring your non-supporting hip directly on top of your stacked shoulder. This isn't a lazy lean; it's a precise muscular contraction between your last rib and your hip. The cleaner you can isolate this movement, the more stable your structure will be.
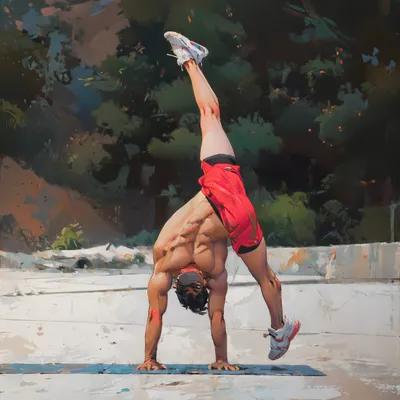
2.4. Leg Engagement: The Forgotten Half
It’s easy to get so obsessed with the hands, shoulders, and hips that you forget about your lower body. Your legs are over half your body weight; if they are passive, they are dead weight that will pull you down. They must be active, engaged, and locked into a single, rigid unit. If you're in a straddle, actively push your legs apart to your maximum range. If your legs are together, squeeze them so hard they become one. Total body tension is not a suggestion; it is a requirement. An engaged lower body provides a predictable and stable counterbalance, making the job of your hand and shoulder infinitely easier.
3. Annihilating Common Mistakes
The One Arm Handstand is a three-dimensional puzzle, meaning mistakes can and will attack you from every angle. Your number one priority must be to understand these errors so you can systematically eliminate them. Film yourself. Don't just watch the video; first, form a mental image of what you think you just did. Then, compare that feeling to the brutal reality on your camera. This is where real learning happens.
3.1. The Collapsing Shoulder: Insufficient Scapular Elevation
The most common point of failure in almost all inversions is a weak shoulder push. If you cannot maintain full Scapular Elevation on two hands, you have no chance on one. Pushing the scapula up towards your ear does more than create a straight line; it creates a stable platform for your shoulder joint, builds Scapular Stability, and is your primary defense against Injury Prevention. Understand the difference between elevation and Shoulder Flexion. It’s acceptable to have a slightly closed shoulder angle as long as the scapula itself is pushed to its absolute maximum height.
3.2. The Traitorous Free Shoulder
This is perhaps the most overlooked—and most destructive—mistake in the OAHS. Your free shoulder must stay down, pulled close to your ear or chin. The moment you lift that free shoulder up and away from the floor, your latissimus dorsi muscle engages. This powerful muscle pulls on your hips, yanking them back towards a two-handed, parallel position. You rotate, and you fall. Every time. Furthermore, lifting the free shoulder inevitably pulls it backward, introducing a rotational force that your supporting arm cannot fight. Your body will always follow your free shoulder. To master the one-arm, you must learn to completely isolate and depress the free shoulder. Keep it down, or you will fall.
3.3. The Misaligned Supporting Shoulder
Another critical error is failing to bring the supporting shoulder fully over the supporting hand. This usually stems from a lack of Coordination or, more commonly, a lack of trust in the shoulder's ability to hold the load. Athletes often understand the concept of the weight shift, but they stop short. To compensate for the misaligned shoulder, they will use an excessive, inefficient Side Bend just to get the free hand off the floor. This not only creates an unstable position that's difficult to control but also puts the shoulder joint in a compromised, vulnerable position, ripe for injury. You must build the strength and Confidence to commit to the full weight transfer.
4. Smart Progressions vs. Wasted Effort
4.1. The Best Progressions for OAHS
Many roads lead to Rome, but some paths are paved while others are full of potholes that encourage bad habits. Your training must be ruthlessly efficient. First, master the Narrow Handstand. This is non-negotiable. It specifically targets and strengthens the Posterior Deltoid for the unique stress of the OAHS and teaches you to keep your shoulders packed in and elevated. Next, drill your Side Bend relentlessly. While more flexibility is better, the goal isn't contortion; it's control. Isolate the bend between your last rib and hip, keeping shoulders elevated and elbows locked. Finally, the Miami Handstand—with one hand elevated on a block—is a milestone. It's the gateway to nearly every advanced one-arm drill. Your goal is equal weight on both hands, with hips and shoulders parallel to the floor. Master it.
4.2. Progressions That Build Bad Habits
If a coach recommends these drills without a very, very specific reason, it's a red flag. The most common and destructive drill is the Piano Fingertip Hold. The idea of walking your fingers off the ground seems logical, but it's a trap. It ingrains the exact mistake we are trying to avoid: lifting the free shoulder. You are actively rehearsing failure and building finger strength instead of true one-arm Technique. It’s fake progress. Another trap is the Wall Assisted One Arm Handstand. If you need the wall for balance, you are not ready for one-arm work. The OAHS is three-dimensional and requires weight in the fingertips. Leaning on the wall makes proper alignment impossible. The wall's only role in OAHS training is for specific Side Bend coordination drills or conditioning, never for balancing.
5. Building Your One Arm Handstand
There is no magic pill. The road to the One Arm Handstand is paved with consistent, intelligent work. The variables are many: your current handstand level, your training time, your body's Recovery capacity. But the blueprint is clear. Let's assume your two-arm Handstand is stable. A realistic timeline with 4-5 sessions per week is one to two years. Some get there faster, some take longer. Focus on the process, not the timeline. Your journey is yours alone.
Your training must be structured. Begin every session with a general warm-up, followed by prehab for your wrists and shoulders. Mobilize your hips for a better straddle. Then, work on your two-arm skills—maintain your foundation. Only then, when your body is primed, do you begin your specific OAHS work. Finish with targeted strength work, rotating exercises like Handstand Push Ups and Planche leans to build a body that is not just skillful, but resilient. This is a long-term campaign. The One Arm Handstand doesn't yield to brute force; it rewards meticulous preparation, unwavering Discipline, and the courage to master the fundamentals.
Get to work.