One Arm Handstand: Your First 4 Steps to Get Started
Dreaming of the One Arm Handstand? Stop dreaming. Here are the first, non-negotiable steps to start.
TABLE OF CONTENTS
1. Are You Truly Ready for the One Arm Handstand?
1.1. The Non-Negotiable Prerequisite
The One Arm Handstand (OAHS) is a monument of calisthenics skill. It’s complex, intimidating, and for many, it feels like magic. But there is no magic here. The OAHS is a puzzle, and if you break it down into its smallest pieces, you will understand how to solve it. This guide is your starting point, your first few pieces of that puzzle.
So, you’re thinking about the OAHS and you want to start training for it. The first question isn't what to do, but whether you are ready. Many athletes ask how long they should be able to hold a Handstand before starting. The truth is, raw Handstand Endurance is a poor metric. The real criteria are control, alignment, and Upside Down Awareness.
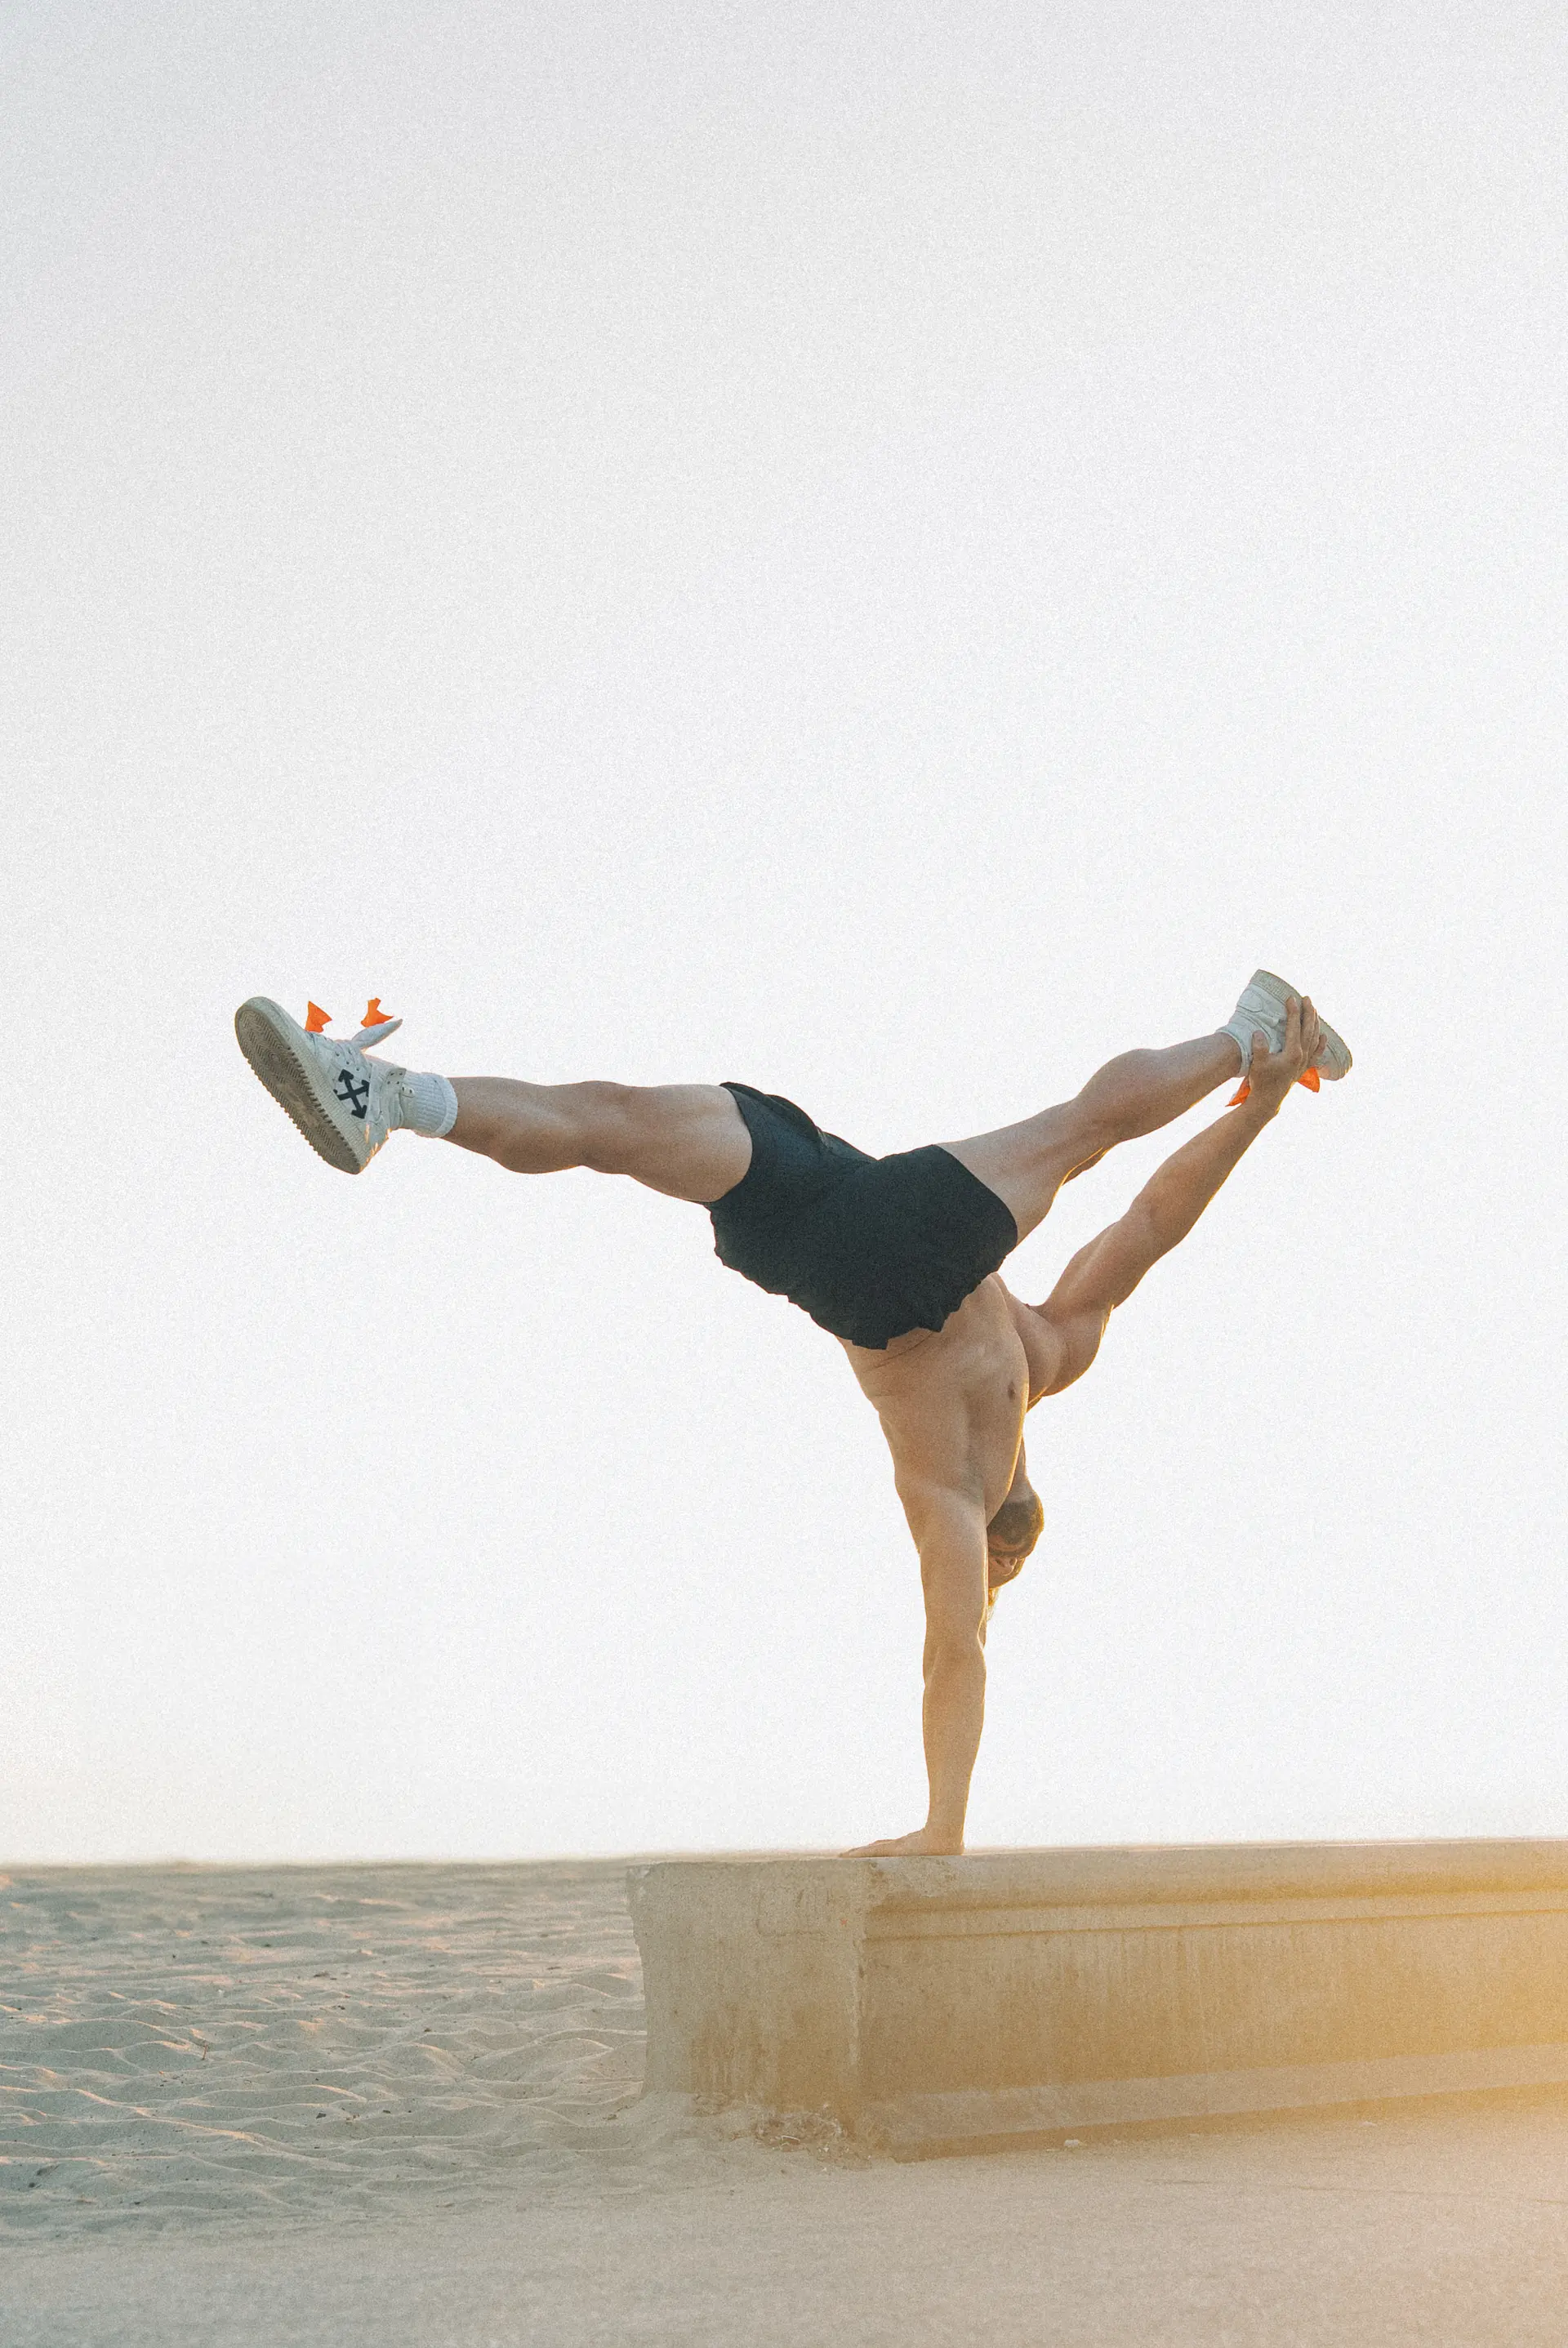
A bulletproof two-arm Handstand is the price of admission. A rock-solid sign that you're ready to start dedicating serious time to one-arm work is your ability to perform clean Lateral Leg Isolations without bending your elbows to catch your balance. This demonstrates that you can coordinate your lower body while maintaining a powerful, stable shoulder girdle. This is what the OAHS is all about. If your base is weak, you're building on sand. If you have to bend your arms to correct your balance, you are not in control. Master your two-arm Handstand until it feels like home. Then, you are ready to begin.
2. Master the Lateral Line
2.1. Isolate the Side Bend
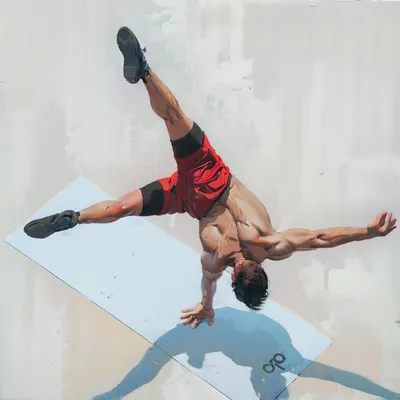
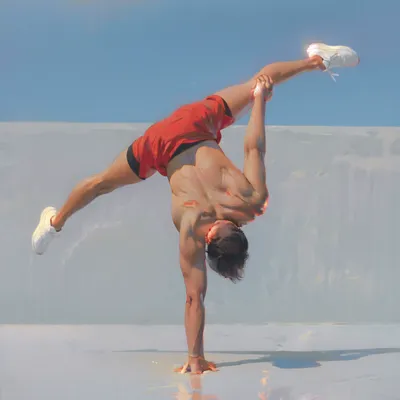
For most athletes, this is the most difficult piece of the puzzle. The Side Bend is what allows you to shift your Center of Mass over your supporting hand, achieving the Joint Stacking necessary for balance. But it is a movement that requires immense Coordination, Flexibility, and control. Be patient here. The key is isolation. The bend must originate from your obliques, the space between your last rib and your hip bones. A common mistake is to lean with the shoulders. If you bend to the side and your face is no longer touching your supporting shoulder, you are not isolating the movement. You are just creating Energy Leaks and making your Handstand unstable and fragile.
2.2. Lock in Your Legs
Your legs are not passengers; they are active stabilizers. Before you even initiate the Side Bend, you must lock your legs into your hips. Actively use your glutes and abductors to push your legs into their end-range of motion in a straddle. This requires External Rotation. Once they are set, they must remain absolutely immobile throughout the entire drill. Any movement from the legs will disrupt your balance. Start practicing this discipline by performing deep side bends facing a wall. Focus entirely on your shoulders—they should not move at all. Progress to performing them with your side close to the wall. If you make a mistake, like sinking into one shoulder or rotating the hips, your foot will touch the wall, giving you instant, undeniable feedback.
3. Forge a New Kind of Shoulder
3.1. Understanding the Load Shift
The physics are simple but brutal. In a two-arm Handstand, each shoulder carries half of your bodyweight, and the load is primarily on the inside of the shoulder. When you transfer to one arm, that shoulder must now support 100% of your bodyweight, and the load path travels to the outside of the shoulder, demanding incredible stabilization from your Posterior Deltoid. This is a completely different kind of stress and requires a completely new kind of strength. We must prepare for it specifically.
3.2. The Narrow Handstand Progression
The 2on2 Handstand, or Handstand with narrow hands, is your primary tool for this preparation. It's the perfect starting point to re-engineer your shoulders. By bringing the hands closer together, you begin to simulate the force vectors of a one-arm balance, conditioning the smaller stabilizers to fire. Start against the wall with slide-aways before attempting this freestanding. This drill doesn't just build strength; it sharpens your Body Awareness and refines your alignment over a smaller Base of Support. You can use wooden Handstand blocks placed together to close the gap, or simply train on the floor with your hands as close as possible. This is a crucial step that many athletes try to skip. Don't be one of them.
4. Build the Bridge to One Arm
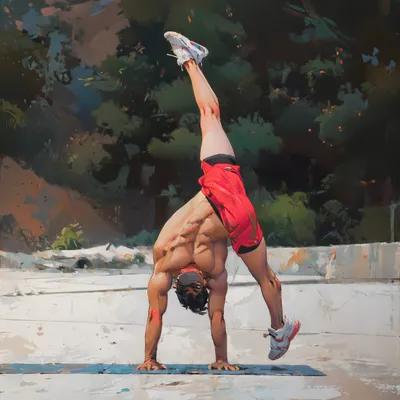
4.1. Introducing the Miami Handstand
Once you have developed proficiency in the narrow Handstand, it's time to build the bridge. Take one block away and begin working on the Miami Handstand. This drill involves one hand elevated on a block while the other is on the floor. For now, the goal is to keep the elbow of the hand on the block bent, which allows you to keep your shoulders and hips parallel to the floor. The weight should be distributed evenly between both hands, which should be about shoulder-width apart or slightly less. This position allows you to load the supporting arm in a way that is highly specific to the OAHS, but in a much more stable and controlled environment.
4.2. Mastering the Entry and Hold
You can use wooden Handstand blocks, yoga blocks, a stack of books—anything stable will work. The entry is often the trickiest part. If you have difficulty kicking up, return to the wall. Practice slide-aways and simple take-offs from the wall to get used to this new hand and shoulder position. You will quickly find that once you are up and aligned, the basic Miami Handstand feels very similar to a regular Handstand. Film yourself. Your form in these foundational drills cannot be too clean. The better you master these first steps, the smoother your journey will be.
5. Your Path Starts Now
The One Arm Handstand is not a destination you arrive at by accident. It is built, piece by piece, through intelligent, focused work. You have now seen the first pieces of the puzzle: a rock-solid two-arm Handstand, the isolated Side Bend, and the specific shoulder conditioning through narrow and Miami variations. These are not suggestions; they are the non-negotiable foundation.
Do not rush. Do not chase the end goal by skipping the process. Master each of these steps until they feel second nature. The strength and awareness you build here will pay dividends for the rest of your journey. The path is laid out before you.
Get to work.