Narrow Handstand: The Key to Your One Arm Handstand
Stop failing your OAHS. The fix isn't more attempts—it's this underrated handstand progression.
TABLE OF CONTENTS
1. Deconstructing the Narrow Handstand
1.1. What It Is and Why It Matters
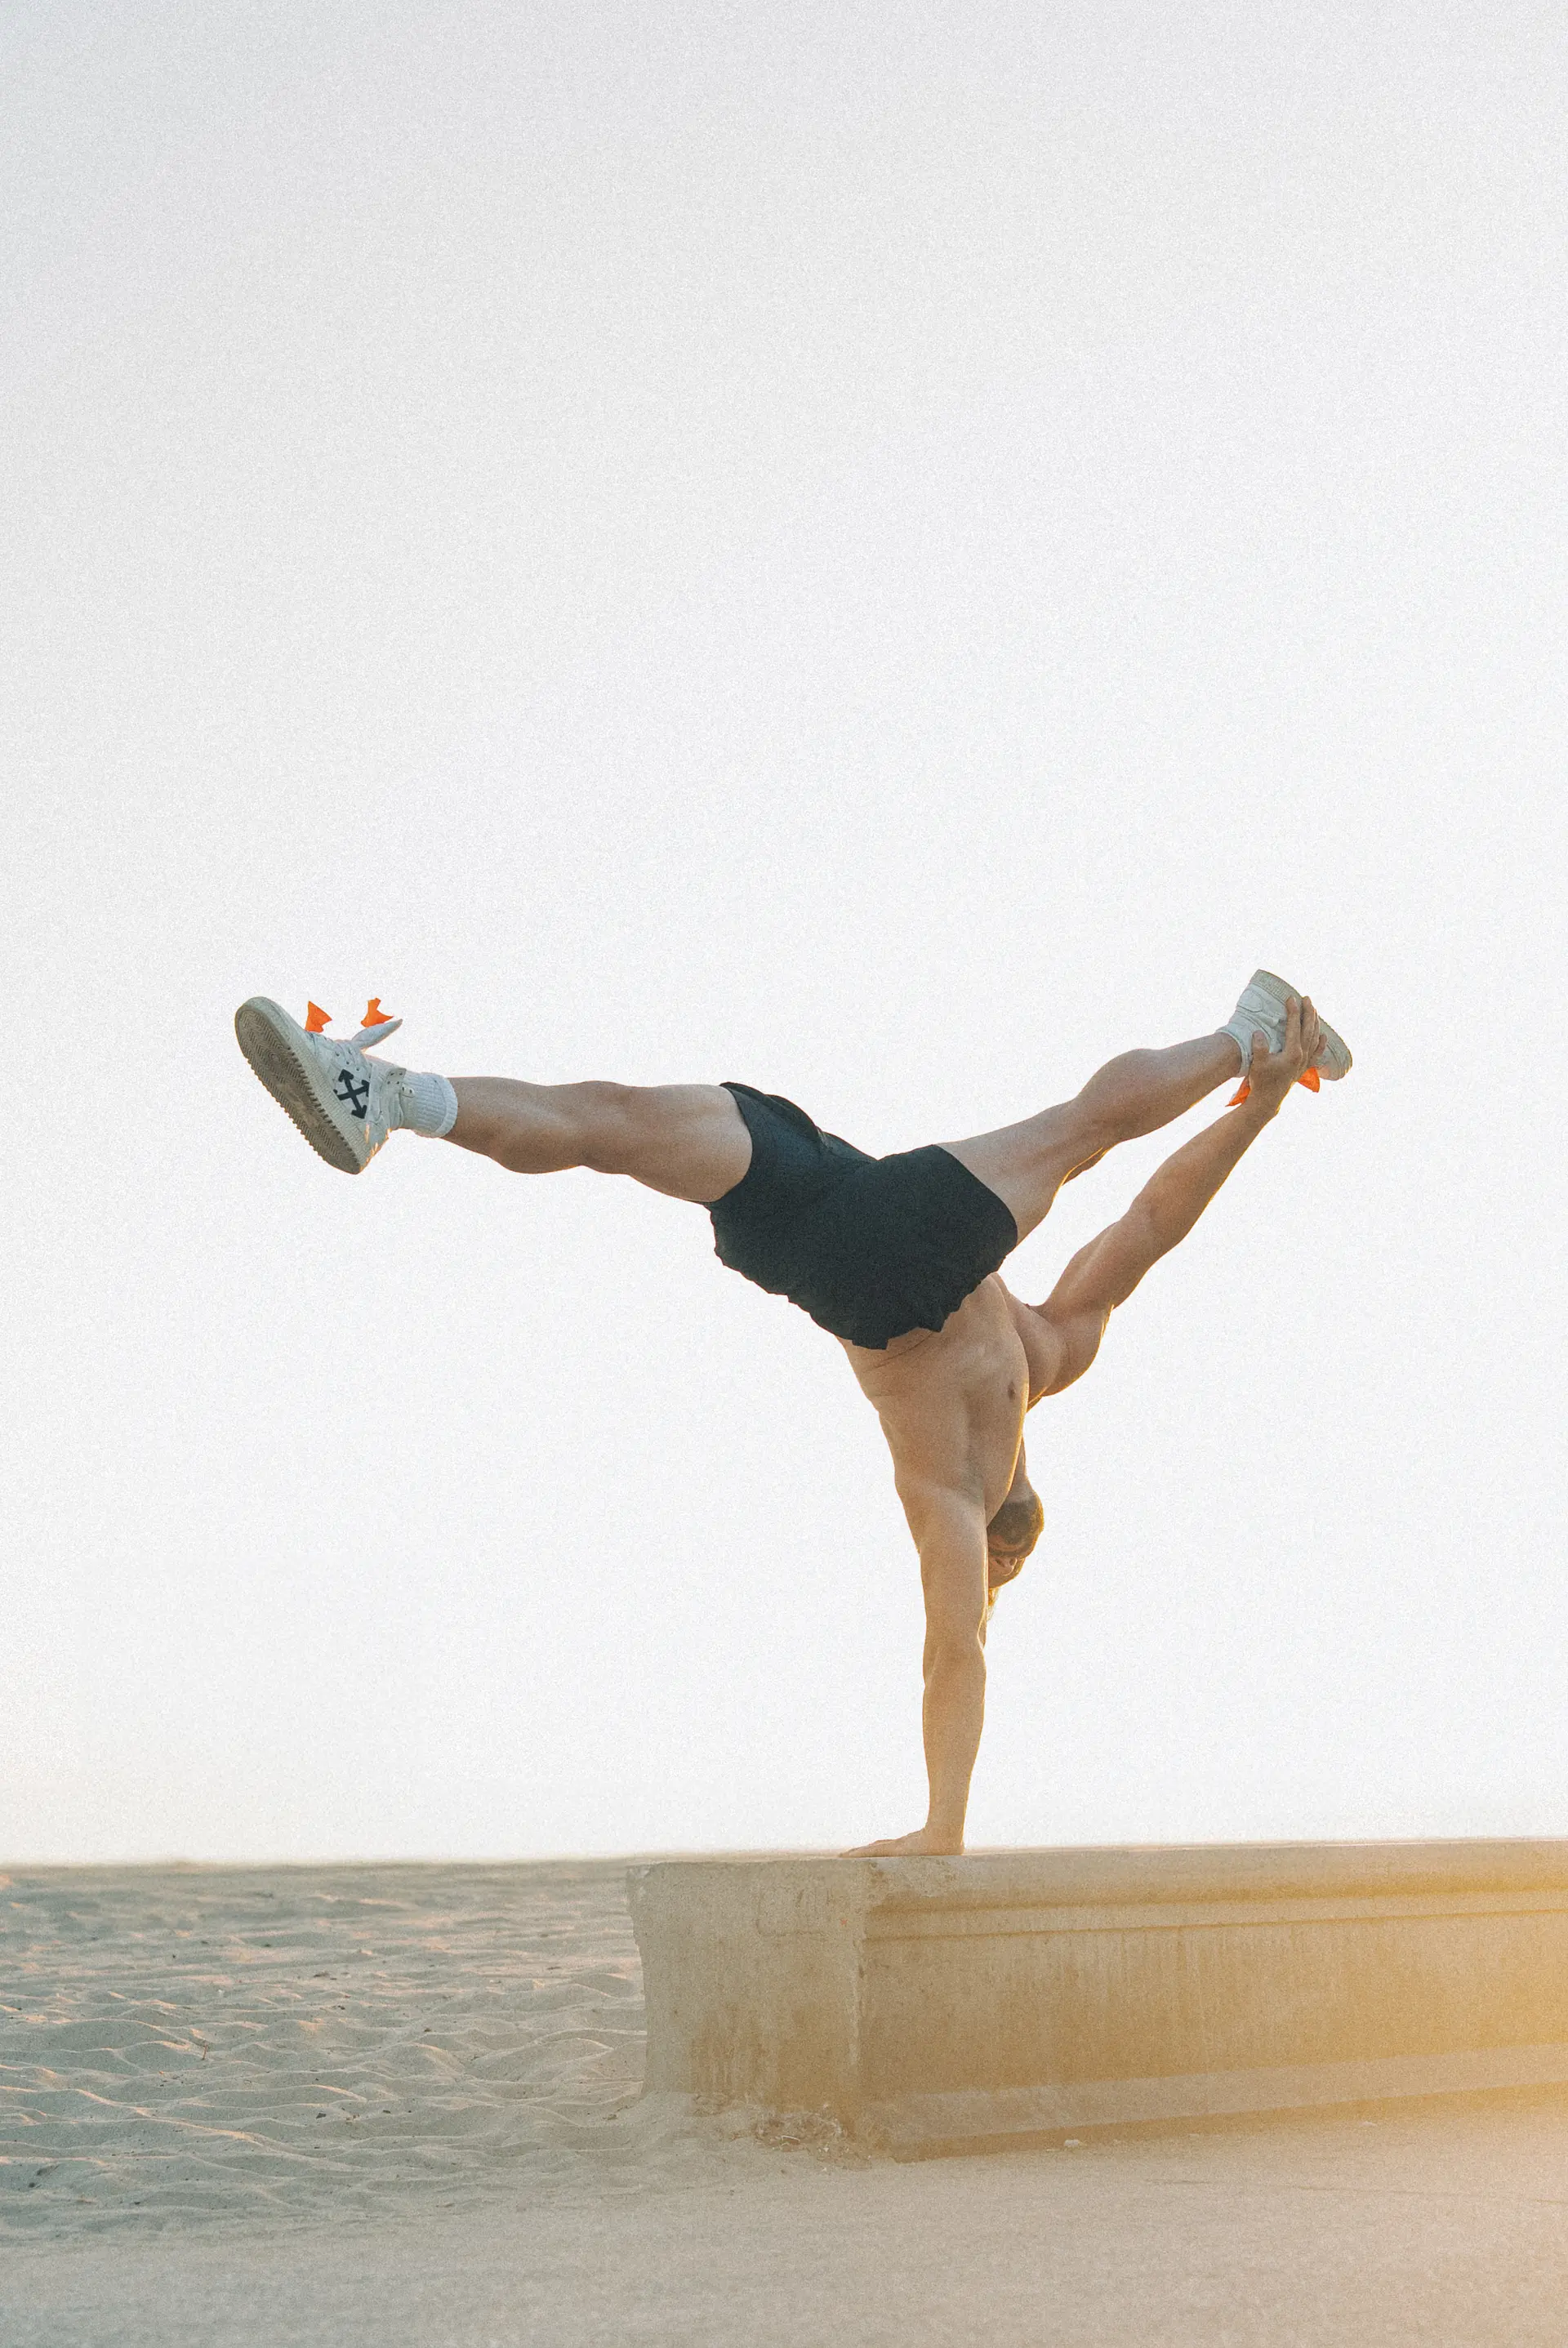
The Narrow Handstand is a grossly underrated and misunderstood progression. To the untrained eye, it looks like a simple variation, a party trick to make a Handstand look different. But this is a profound miscalculation. A proper analysis reveals the raw power of the Narrow Handstand in the quest for the One Arm Handstand (OAHS). It is an essential tool for forging specific Shoulder Stability, developing key technical principles, and building the kind of targeted strength that is brutally difficult to acquire any other way. You don't just train the Narrow Handstand; you use it to re-engineer your body's capacity for single-arm balance.
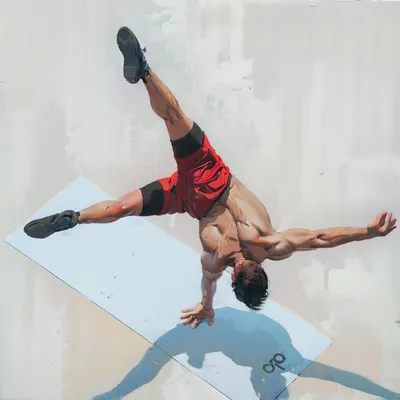
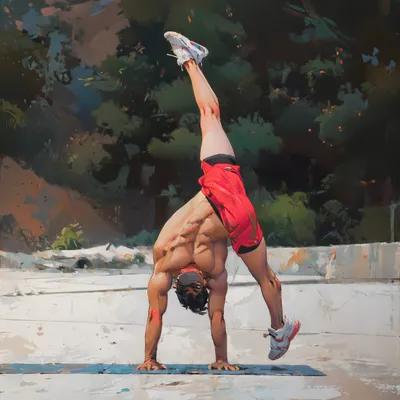
Traditionally performed on canes, where it's known as a "2-on-1" (two hands on one cane), we will adapt this principle for floor and block work. The goal is simple and severe: place your hands on the floor so close that they touch. This seemingly small change completely alters the biomechanics of the skill, shifting it from a stable two-point balance to a precarious simulation of a one-point balance.
1.2. Perfecting Your Hand Placement
Precision is non-negotiable. The direction your hands point should not change simply because they are closer together. From your knees, bring your hands toward each other until your thumbs touch. Many athletes find it comfortable to fold their thumbs inward, so they touch both their own hand and the thumb of the opposite hand. A critical note for hand-to-hand acrobats: if you ever plan to perform this on a partner's head, crossing your thumbs is mandatory. This creates a lock that prevents your hands from sliding off a sweaty surface.
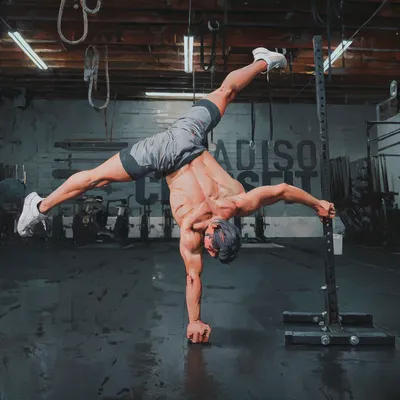
1.3. Why You Must Use Blocks
If you have access to blocks, use them. This isn't a suggestion; it's a command. The ability to grip the edges of the blocks with your fingers grants you a superior level of Fingertip Control and Proprioception over your balance. More importantly, the Narrow Handstand is a direct tool for your One Arm Handstand journey. Nearly all elite OAHS drills are performed on blocks, and your first successful holds will almost certainly be on blocks. Beginnings are hard. Get accustomed to the feel of blocks now, not later. Place two blocks side-by-side, touching. Your thumbs should point forward, touching each other on their outside edges. Typically, you'll place two fingers in front of the blocks and two on the side. If you have smaller hands or a natural outward rotation in your floor handstand, three fingers in front may feel more stable. Experiment, find your lock, and own it.
2. The Bridge to the One Arm Handstand
2.1. The Flawed Path to the OAHS
Too many athletes try to jump from a standard Handstand to fingertip holds and then to desperate, failing One Arm Handstand attempts. This path is not just inefficient; it's a recipe for plateaus and frustration. You aren't building a skill; you're just getting good at a specific, flawed attempt. The Technique remains unlearned. My life's work has been to dissect these skills and insert critical, targeted progressions that build principles, not just positions. The Narrow Handstand is one of the most vital of these progressions.
2.2. Forging OAHS-Ready Shoulders
In a standard Handstand, your Center of Mass is balanced between your hands. The stability work is dominated by your anterior deltoids and upper chest. When you shift your weight for a One Arm Handstand, your Center of Mass travels significantly, even if your shoulder only moves a fraction. This transfer of load slams an immense amount of work onto your outside shoulder, specifically recruiting the Posterior Deltoid for stabilization—a muscle you've likely never used this way before. Attempting a full OAHS without preparation is like asking this muscle to catch a freight train. It's an invitation for overload and injury. The unique arm angle in a Narrow Handstand pre-loads and strengthens the Posterior Deltoid and the entire lateral aspect of the shoulder before you ever need it for a true one-arm attempt. It's pre-hab and Straight Arm Strength development rolled into one brutal package.
2.3. Eliminating the Dreaded Twist
Rotation is the silent killer of the One Arm Handstand. An athlete can be perfectly balanced, but the moment the free hand lifts, the hips twist, and they spiral out of the hold. This isn't random; it's a neuromuscular habit. The free shoulder subconsciously pulls up and back, engaging the lat, which in turn pulls on the hips. Breaking this habit is one of the most arduous parts of the journey. This is where the Narrow Handstand becomes your secret weapon. The position forces you to drive both shoulders down and into deep Scapular Elevation, essentially pinning them against your chin. This sensation of active, downward pressure is almost identical to the feeling required to maintain a stable, square One Arm Handstand. You are actively training the Anti-Rotation pattern necessary for success.
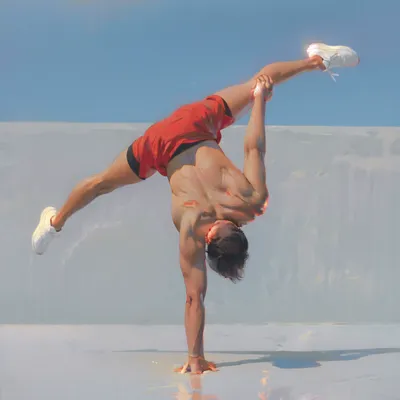
2.4. Mastering Single-Point Balance
The fundamental difficulty of the OAHS is the transition from a wide, stable Base of Support to an infinitesimally small one. It's the difference between standing on two feet and a ballerina balancing on a single pointe shoe. The more narrow you bring your hands, the more you simulate and adapt to this feeling of balancing on a razor's edge. While the specific balance Technique of the OAHS is still different, the Narrow Handstand dramatically accelerates your brain's ability to process the chaotic sensory input of single-point balance, sharpening your Proprioception and control.
3. Mastering the Progression Path
3.1. Building Foundational Strength
Before you can dream of balance, you must first build the raw strength to stabilize this new, awkward position. The outside of your shoulder is virgin territory for this kind of load; apply Progressive Overload intelligently and build volume slowly over time. I recommend 2-4 sets of narrow work in every session, either before your one-arm drills or at the end of your handstand work before conditioning. Head to the wall. We have three key exercises.
- Single Leg L Handstand Shrugs: Focus on pure vertical movement. Drive up and down with the shoulders, no leaning towards the wall.
- Tuck Slides: These are deceptively brutal. Keep the shoulders stacked directly over the hands, elbows locked, and fight the urge to let your hips collapse into a Posterior Pelvic Tilt.
3.2. Developing Freestanding Control
Once you have the requisite strength, it's time to move away from the wall. The first step is the Slide Away. Practice this with legs together and in a full Straddle. While the goal is to get away from the wall, the real focus is on initiating the movement with a powerful shoulder lean before the feet even think about lifting. This drills the correct motor pattern for the entry. The logical next step is the freestanding Straddle Jump To Handstand. With proper preparation, this will feel surprisingly accessible. Once your Straddle Jumps are consistent, incorporate straight-leg and even Tuck Jumps into your practice.
3.3. The Mandate of Commitment
Here's the brutal truth about specialized handstand positions: holding them isn't the hardest part. Getting into them is. You may be accustomed to jumping to 80% and using bent elbows to absorb the momentum and "catch" the handstand. While this can work in a Narrow Handstand, it is exponentially harder and teaches bad habits. Do not fight for ugly entries. I forbid it. Force yourself to commit 100% to a full, powerful jump all the way to the top. If you feel you're coming up short, abort the attempt. Reset. Go again. The moment you nail a clean entry, you will understand. The stability is waiting for you at the top, but you have to earn your way there.
4. Forge Your One Arm Foundation
4.1. Adapting to Your Body Type
Handstand athletes generally fall into two categories: the mobile but less powerful (think yoga background) or the strong but less flexible (think CrossFit background). For the flexible athlete, the Narrow Handstand position itself is not physically demanding. Your narrow shoulders mean the arm angle isn't extreme. However, the lack of shoulder mass and raw strength can make the position feel terrifyingly unstable, especially on blocks. For you, this drill is a direct path to building confidence and targeted strength. Conversely, for the strong-but-stiff athlete, this drill will be hell. Your wider shoulders create a more severe arm angle, and any limitations in Scapular Elevation or Shoulder Flexion will be immediately exposed. Be patient. Go slow. The immense benefits you will reap in Coordination and specific strength will directly fuel your entire handbalancing practice.
4.2. Your Path to Mastery
The Narrow Handstand is the closest you can get to a One Arm Handstand while still on two hands. It is not an optional accessory; it is a necessity on the path to mastery. This drill will assault your strength, challenge your Coordination, and rewire your sense of balance. If it is not already a permanent fixture in your training, your mission is clear. You have the blueprint. You understand the why. You have the how. The only variable left is your commitment.
Get to work.