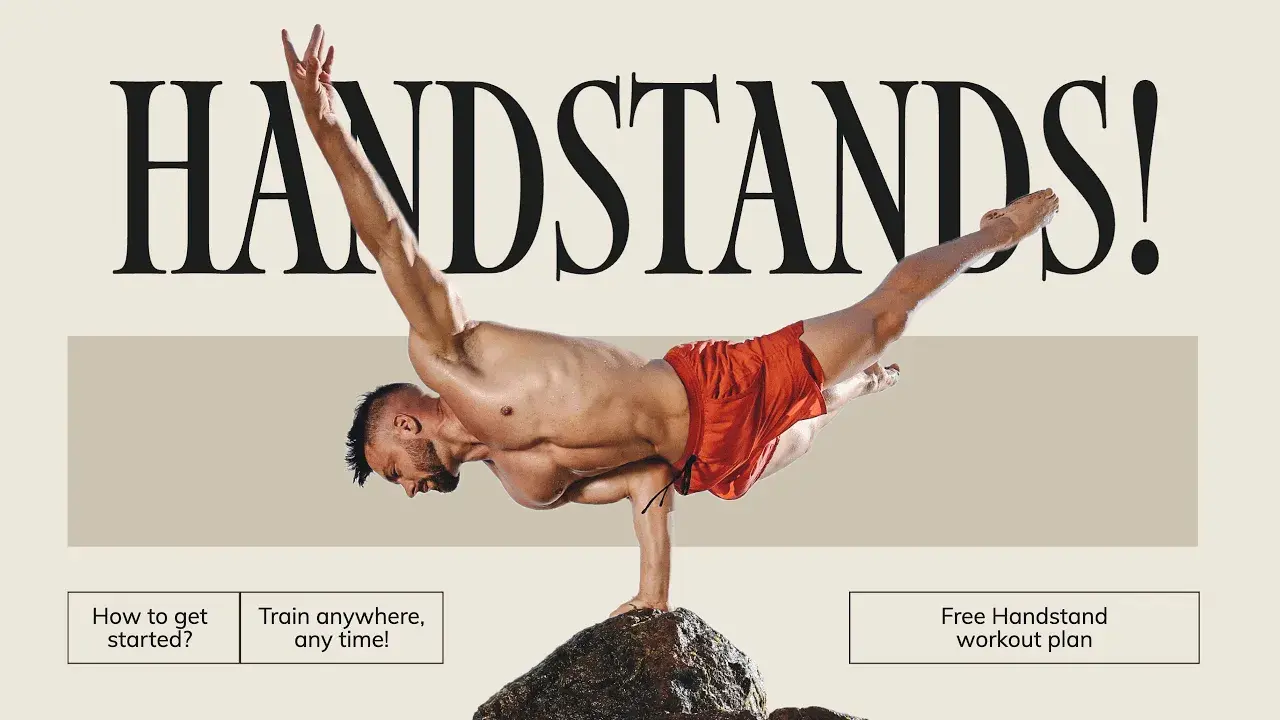
How to Handstand at Home: A Beginner's Ultimate Guide
Stop kicking up and falling. Learn the blueprint to build a rock-solid handstand at home. No excuses.
Learn everything there is to know about getting started with handstands. From proper alignment, workout structure, overcoming limiting points and dealing with training from home truly no question is left unanswered in this episode of "Handstands & the Rest". Click on the link below to request your free 5 day Intro to Handstands workout sequence.
TABLE OF CONTENTS
1. Deconstructing the Handstand: More Than Just Balance
1.1. The Anatomy of a Perfect Handstand
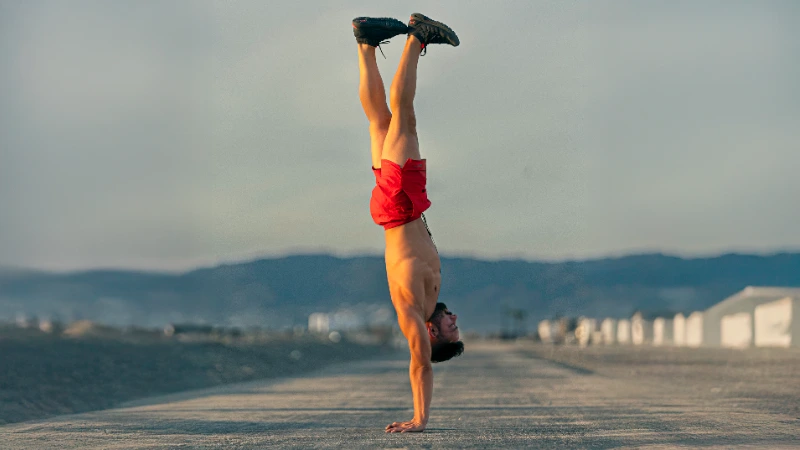
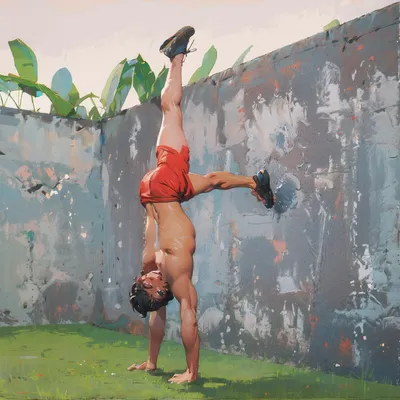
The Handstand is a beautiful, demanding skill. It’s a full-body challenge that extends beyond the gym, forging Discipline and Focus in your routines and life. But its greatest asset? It requires zero equipment. You can start building strength, Upside Down Awareness, and Mobility from home, today. All you need is a wall, courage, and the fire to begin. Most people see the handstand as a simple test of Balance, but this is a dangerous misconception. Standing on your hands is not a trick you just pick up; it's a skill you must earn. Your body needs to be meticulously prepared, muscles forged, and joints fortified. This journey is taxing, not just on your muscles, but on your entire nervous system. It demands respect.
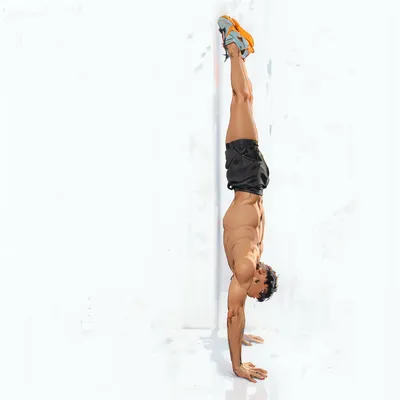
1.2. Handstands Happen in the Shoulders
Let's get one thing straight: the Handstand is not a core exercise. While a tight core is non-negotiable, the real work, the real control, happens in the shoulders. Your hands should be shoulder-width apart, fingers facing forward. Elbows must be locked—this is non-negotiable Straight Arm Strength. The pits of your elbows should point roughly 45 degrees forward. Critically, you must push tall. This is Scapular Elevation—imagine trying to cover your ears with your shoulders. This action creates a stable platform. From your shoulders down to your feet, every muscle must be engaged in a state of Full Body Tension. Squeeze your legs together, point your feet, and tighten your core and glutes. This is the foundation of a rock-solid Alignment.
2. Forging the Foundation: Your Essential Training Pillars
2.1. Skill Training: Rewiring Your Brain
To master the Handstand, you must practice the skill itself. This means getting upside down and reteaching your brain what it feels like. You’re building Proprioception, learning where your limbs are in space without looking. You’ll learn to control your pelvis, flipping between an Anterior Pelvic Tilt and a Posterior Pelvic Tilt to make micro-adjustments. When you're a beginner, most of your time is spent building raw strength, but as you advance, skill work will dominate your sessions. Excellent beginner drills include the L-Handstand with feet on a table and learning to isolate leg movements, a precursor to drills like the Wall Crow leg isolations. Remember, quality over quantity. Every rep is a chance to hardwire a new motor pattern.
2.2. Strength Training: Building the Engine
Powerful handstands are built on a chassis of formidable strength. We're talking shoulders, arms, back, core, and even legs. This isn't the same strength you build with weights; it's specific, integrated Bodyweight Strength. Your training will have two strength components: pre-handstand activation and post-handstand conditioning. Activation focuses on waking up the wrists, shoulders, and core. Conditioning is where you forge the raw power. Think of your strength work in three categories:
- Handstand-Specific Strength: Drills like Wall Walks and chest-to-wall holds that directly mimic the skill.
- Assistance Strength: Exercises that build the primary movers, like Pike Push Up progressions for developing Overhead Pushing Strength. Compare this to the Handstand Push Up, which you will build towards.
- Isolation Work: Drills like Plank variations, Hollow Body Holds, and Triceps Extensions to eliminate weak links.
2.3. Flexibility Training: Creating Usable Range
To simply hold a handstand, you don't need extreme Flexibility. Your wrists must extend enough to support you, and your shoulders need to open into a 180-degree line (Shoulder Flexion). While wrist mobility can be a factor, it's often tight shoulders, a product of modern lifestyles, that create the biggest bottleneck, leading to the dreaded Banana Handstand. Stretching your shoulders and Hamstrings is crucial. Remember, flexibility gains are slow. You build them over months, not days. Gentle wrist and shoulder stretches are a mandatory part of your warm-up. This prepares the tissue, but for lasting change, you need dedicated sessions focused on techniques like Static Stretching to improve your passive range, which you can then turn into the Active Flexibility that skills demand.
3. The Blueprint for Progress: Building Your At-Home Routine
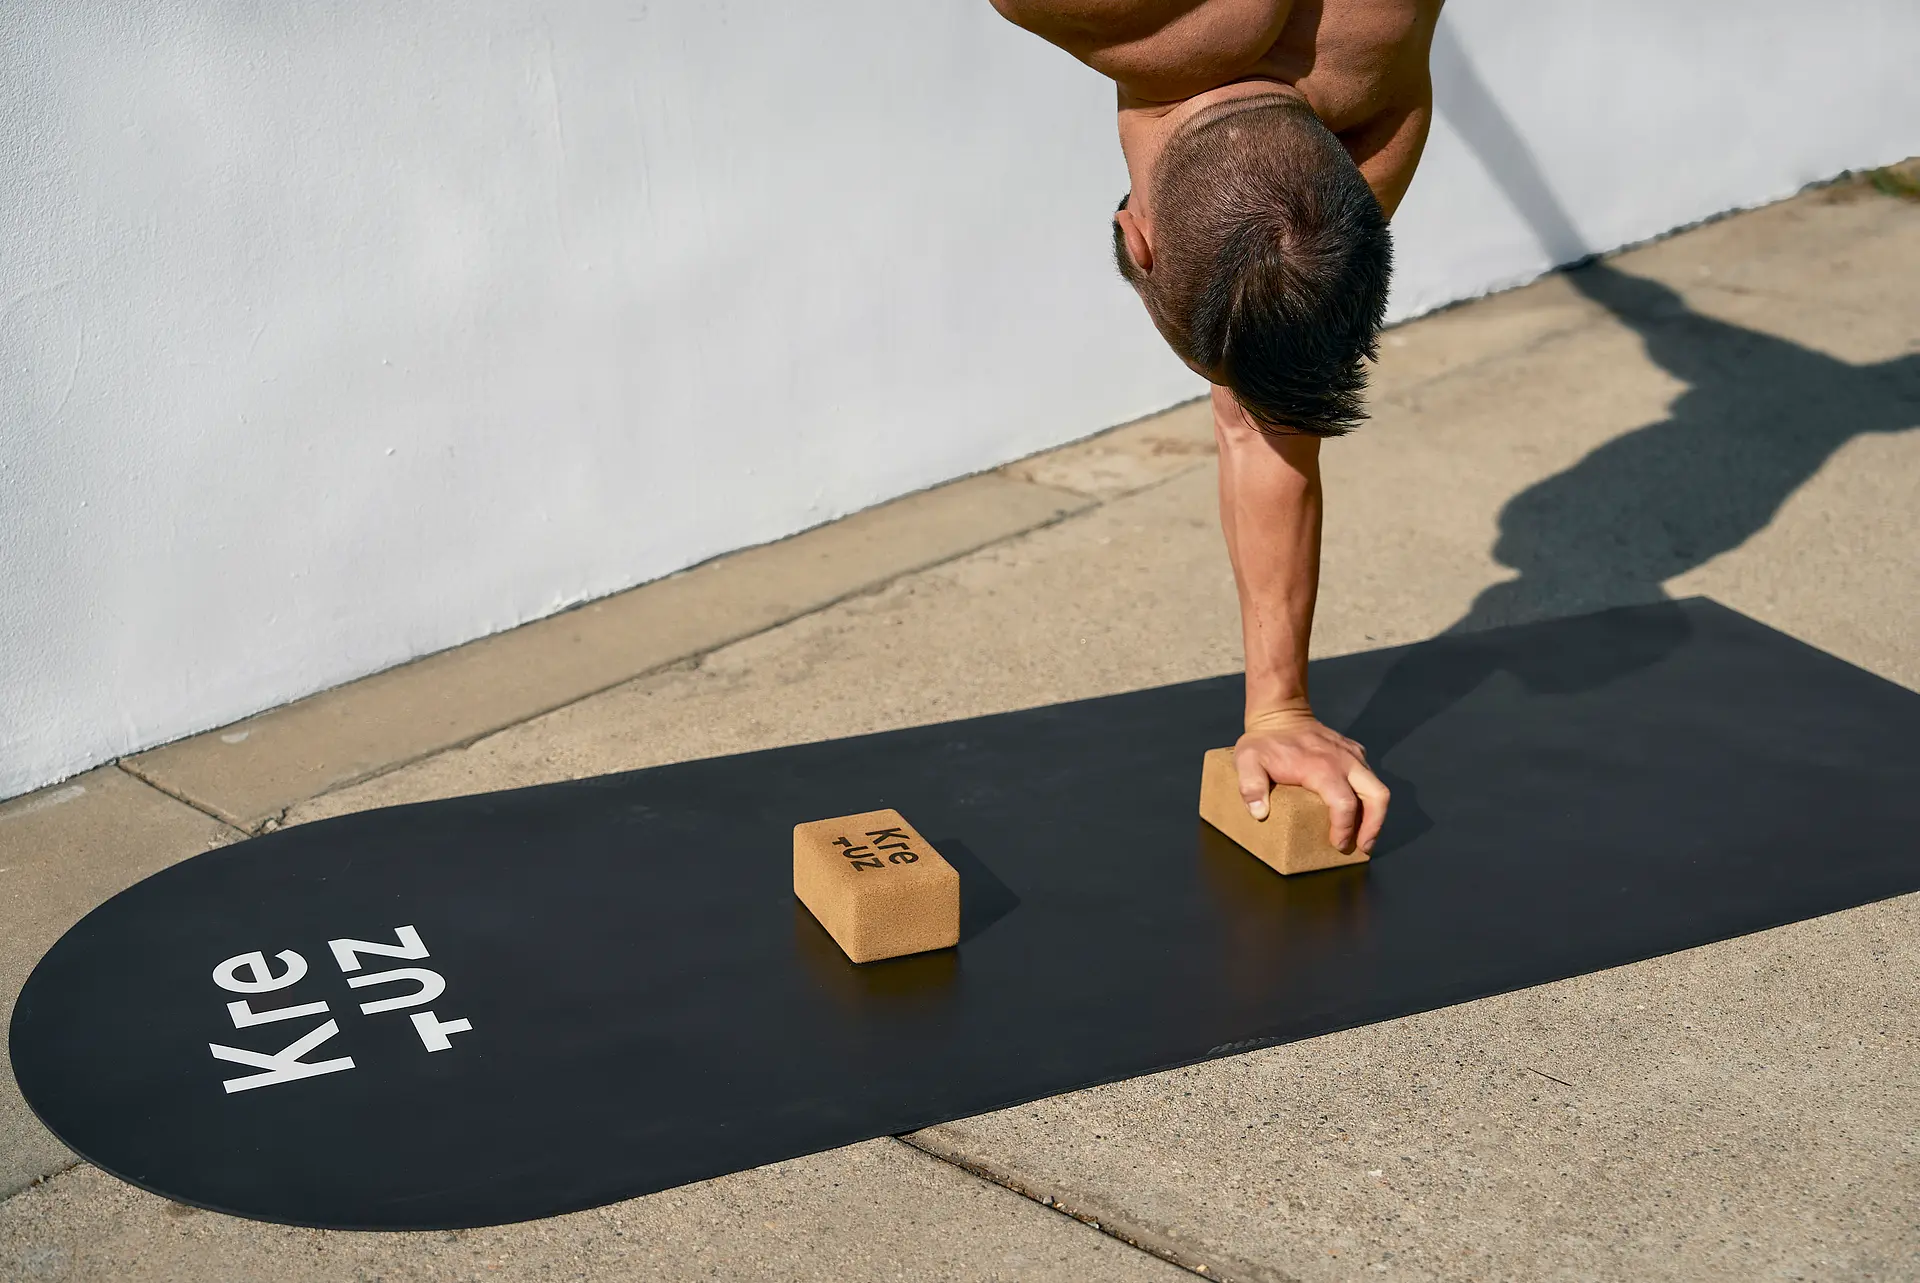
3.1. Choosing Your Progression: The Honesty Audit
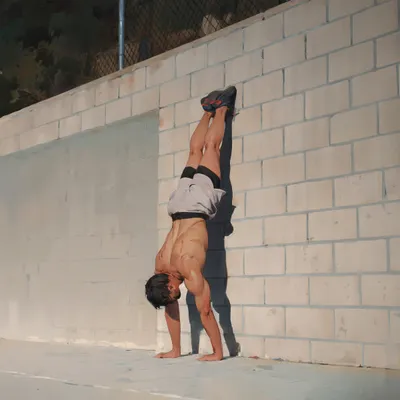
Your progress lives or dies by your ability to choose the right progression. This is where ego is the enemy. You need an exercise that is hard enough to challenge you but easy enough to perform with near-perfect form. This is the essence of Progressive Overload in Calisthenics. If a progression is too hard, you'll build bad habits, stall, and lose the fire. If you are even thinking about training the Freestanding Handstand, you are not ready. Your focus must be the wall. If a chest-to-wall hold causes your elbows to bend or shoulders to collapse, that's a sign to regress. An L-Handstand with feet on a box or table reduces the load, allowing you to focus on building strength and perfecting your Alignment without compromise. Be brutally honest with yourself. This is how you win.
3.2. The Warm-Up: Preparing for Battle
Every single workout must begin with a proper warm-up. This is non-negotiable for Injury Prevention. Think of it in two phases. First, a general warm-up: 5-10 minutes of light cardio like jogging or skipping rope to get your blood flowing. Second, a specific warm-up: This is where you prime the engine for the work ahead. Focus on your wrists, shoulders, and core. This could include Dynamic Stretching, activation drills, or light strengthening exercises tailored to your body's needs. A thorough warm-up is not a suggestion; it's a requirement for longevity and peak performance.
3.3. Frequency and Structure: The Path to Consistency
Consistency is the engine of progress. A dream without a plan is just a wish. For beginners, start with 2-3 sessions per week, lasting 20-35 minutes each. Your wrists are not accustomed to this load, and your nervous system needs time to adapt. Don't fall into the trap of long, sloppy sessions. Create a precise plan, execute it with razor-sharp Focus, and then get out. When training technical skills, rest long enough to clear the muscle pump but short enough that you don't get cold. This is a fine line you will learn to walk. Your plan should also include dedicated pulling work (Pull Ups, rows) and leg work to maintain a balanced physique. The Handstand is demanding, but it is not a complete full-body workout on its own.
3.4. Filming Your Sets: The Ultimate Feedback Loop
This one is simple. You have a smartphone. Use it. Set it up to film your working sets. Before you watch the replay, close your eyes and create a mental image of what you think the set felt and looked like. Now, watch the video. Compare the sensation to the reality. This practice is one of the most powerful tools you have. It doesn't just reveal form errors; it accelerates your Upside Down Awareness by bridging the gap between what you feel and what is actually happening. This is how you become your own best coach.
4. Navigating the Minefield: Common Problems & Mental Blocks
4.1. The Fear Barrier
One of the biggest hurdles for beginners is fear. But let's reframe this: you aren't scared, you have respect for your body and your health. If an exercise genuinely terrifies you, it's a signal. It means you are not ready for it. There is no shame in this. Regress to an easier progression for two weeks. Build more strength, more Confidence. Fear is information. Listen to it. Learning to bail safely is also a game-changer. Drills like the Cartwheel Bail Out turn a potential fall into a controlled, predictable movement, which dissolves fear and builds trust in your own abilities.
4.2. Bent Elbows: The Ultimate Energy Leak
Slightly bent elbows are a common roadblock. If your elbows don't lock out, your handstand will feel exponentially heavier, as you're fighting gravity with muscle instead of resting on a stable, bone-on-bone structure (Joint Stacking). This is a critical Energy Leak. First, analyze why. Is it a lack of strength or awareness? If so, regress to an easier drill like a Push Up hold or Pike Push Up hold and build the requisite Straight Arm Strength. Is it a lack of flexibility? Gently stretching your biceps can help, but do not forcefully stretch your elbow joint. Treat it with the same respect you'd treat your knee. Lock your elbows. Always.
4.3. The At-Home Training Environment
The beauty of handstands is their portability, but training at home has unique challenges. Distractions are the primary enemy. The TV, your phone, family members—they will all conspire against your focus. Before you train, identify your biggest distractions and eliminate them. Block off the time in your schedule. Put your phone on airplane mode. Concentration is a muscle; you must train it. Small spaces are not an excuse. No empty wall? Use a door—just make sure to lock it. As for safety, because we are eliminating the balance component by using a wall, the risk is minimal. Just ensure any object you place your feet on, like a chair or box, is stable.
5. Your Blueprint for Mastery
5.1. The First Ninety Days
Let's cut through the noise. Handstand progress is slow, but it is methodical. You will have periods of rapid progress and you will have plateaus. This is normal. The key is to understand that even a one-second increase in hold time is progress. You are getting stronger. Your joints are adapting. Your awareness is sharpening. These tiny, almost invisible advancements compound over time into mastery. The journey is clear: from a Push Up Hold, to a Pike Push Up Hold, to an L Handstand, to the Chest to Wall Handstand, and eventually, to the freestanding skill itself. Each step is a victory. Celebrate them.
5.2. A Call to Action
There are no shortcuts. There are no secret keys. The gurus on the internet promising a fast track are selling you a lie. The path is paved with intelligent work, unwavering Consistency, and the Resilience to show up even when you don't feel like it. You now have the blueprint. You understand the components, the training pillars, and the common pitfalls. You know that it’s not about balance, but about building a foundation of strength and control so solid that balance becomes irrelevant. You stand, you don't balance. Forget the endless, frustrating attempts. Embrace the process. Trust the wall. Stay patient, be gentle with yourself, and attack it one progression at a time.
Get to work.