How to Handstand Walk: The Ultimate Guide to Control & Form
Stop stumbling. Start floating. Master the handstand walk with these game-changing technique secrets.
TABLE OF CONTENTS
1. Mastering the Physics of Forward Motion
1.1. The Controlled Fall
Walking on your hands is a game of physics, a dance with gravity. And here’s the secret the pros know: controlled walking is often easier than holding a static Handstand. Think about it. A static hold demands unwavering tension, a perfect, frozen alignment over your Base of Support. Any deviation spells disaster. Walking, however, is a series of controlled falls. You are perpetually tipping over and catching yourself. You initiate a slight forward lean, letting your Center of Mass drift just past your hands, and then you catch yourself by moving your hands forward. It’s a rhythmic, dynamic process of fall-catch, fall-catch. This is why you must abandon the idea of perfect stillness and instead embrace the concept of the controlled fall. It is this single mental shift that transforms a frantic scramble into a graceful, floating walk. The hard work you put in to master this will pay dividends, turning heads at the gym and giving you a feeling of absolute control over your own body.
1.2. Tipping the Scales
So how do you initiate this controlled fall? It begins with your feet. In a straight, stable Handstand, your entire body is stacked in a clean vertical line: feet over hips, hips over shoulders, shoulders over hands. The pressure is balanced, but you have the most control when you’re slightly fingertip-heavy. To start your Handstand Walk, you must intentionally disrupt this balance. Allow your feet to travel slightly past your head, towards your back. This small Weight Shift increases pressure on your fingertips, giving you the sensation of falling. This is the critical moment. The instant you feel that forward momentum, you stop your feet from traveling further and move your hands with two quick, small steps to bring them back underneath you. You have now returned to a stable, aligned position. From here, you repeat the process, initiating another gentle lean to take more steps. It's a delicate and precise action, the very engine of your forward movement.
1.3. The Rhythm of Small Steps
This is perhaps the most critical technical detail, and the one most beginners ignore. You must take small steps. The temptation to take huge, lunging strides to cover ground quickly is immense, but it is a trap. Big steps are a clear signal that you have already lost control and are merely delaying the inevitable fall. Small, deliberate steps are the hallmark of an athlete who is in complete command. They allow you to make micro-adjustments, to stay tight, and to maintain your alignment throughout the walk. You achieve these smaller steps by initiating a smaller lean with your feet. Less lean means less forward momentum to catch, which means your steps can be shorter and more precise. Forget the finish line; focus on executing one perfect, small step at a time. The distance will come as a byproduct of immaculate control.
2. Forging an Unbreakable Structure
2.1. The Pillar of Tension
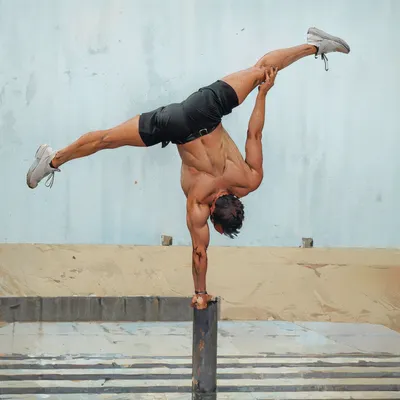
This should be obvious, but its importance is magnified tenfold when you begin to walk. Staying tight is non-negotiable. A Handstand Walk requires a subtle side-to-side swing to un-weight one hand and place it forward. For this to be efficient, this lateral movement must be minimal—only as much as is absolutely necessary. If your core and legs are disengaged, your lower body will flop and swing wildly to the side. These are called Energy Leaks. Not only does this massive transfer of weight waste precious time, but bigger movements always demand more power, leading to premature fatigue. To prevent this, you must transform your body into a solid pillar. Maintain a powerful Core Stability, squeeze your legs together, and point your toes. In a perfect walk, your feet barely move side-to-side; the entire Weight Shift is initiated and controlled from the hips, creating a tight, efficient, and powerful movement.
2.2. Banishing the Banana
We all know it, we all hate it: the dreaded Banana Handstand. That arched-back, hip-forward position is the enemy of efficiency and control. It puts dangerous strain on your wrists, shoulders, and lower back, and it is brutally exhausting. When you start walking, these problems are amplified. Picture your body as a single, raw spaghetti noodle—rigid, straight, and strong. Now picture that same noodle boiled—soft, limp, and uncontrollable. Which one do you think will make it across the floor? The boiled noodle, the Banana Handstand, simply cannot sustain the forces of walking. It will collapse. If you catch yourself arching, stop immediately. Either come down and reset, or actively push out of it by engaging your glutes, tucking your pelvis into a Posterior Pelvic Tilt, and re-establishing your Scapular Elevation. Do not take a single step in a banana. Your long-term progress depends on it.
2.3. Remembering the Foundation
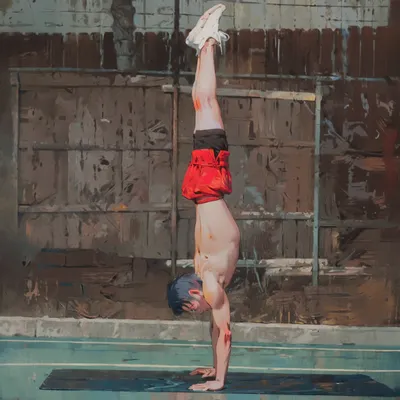
All the technical details of walking are useless if you forget the fundamentals of a proper Handstand. Before you take your first step, your starting position must be impeccable. Place your hands shoulder-width apart on the floor, fingers pointing forward. Lock your elbows and achieve maximum Scapular Elevation—push the floor away and try to touch the ceiling with your feet. Create a straight, powerful line through your entire [c]Kinetic Chain[/e]. Your hips should be neutral, your lower back flat. Your legs must be engaged and squeezed together as if they were one. Your entire body must be under full, conscious tension. This isn't just a starting position; it's the stable platform from which every single controlled step is launched.
3. The Drills That Build Dominance
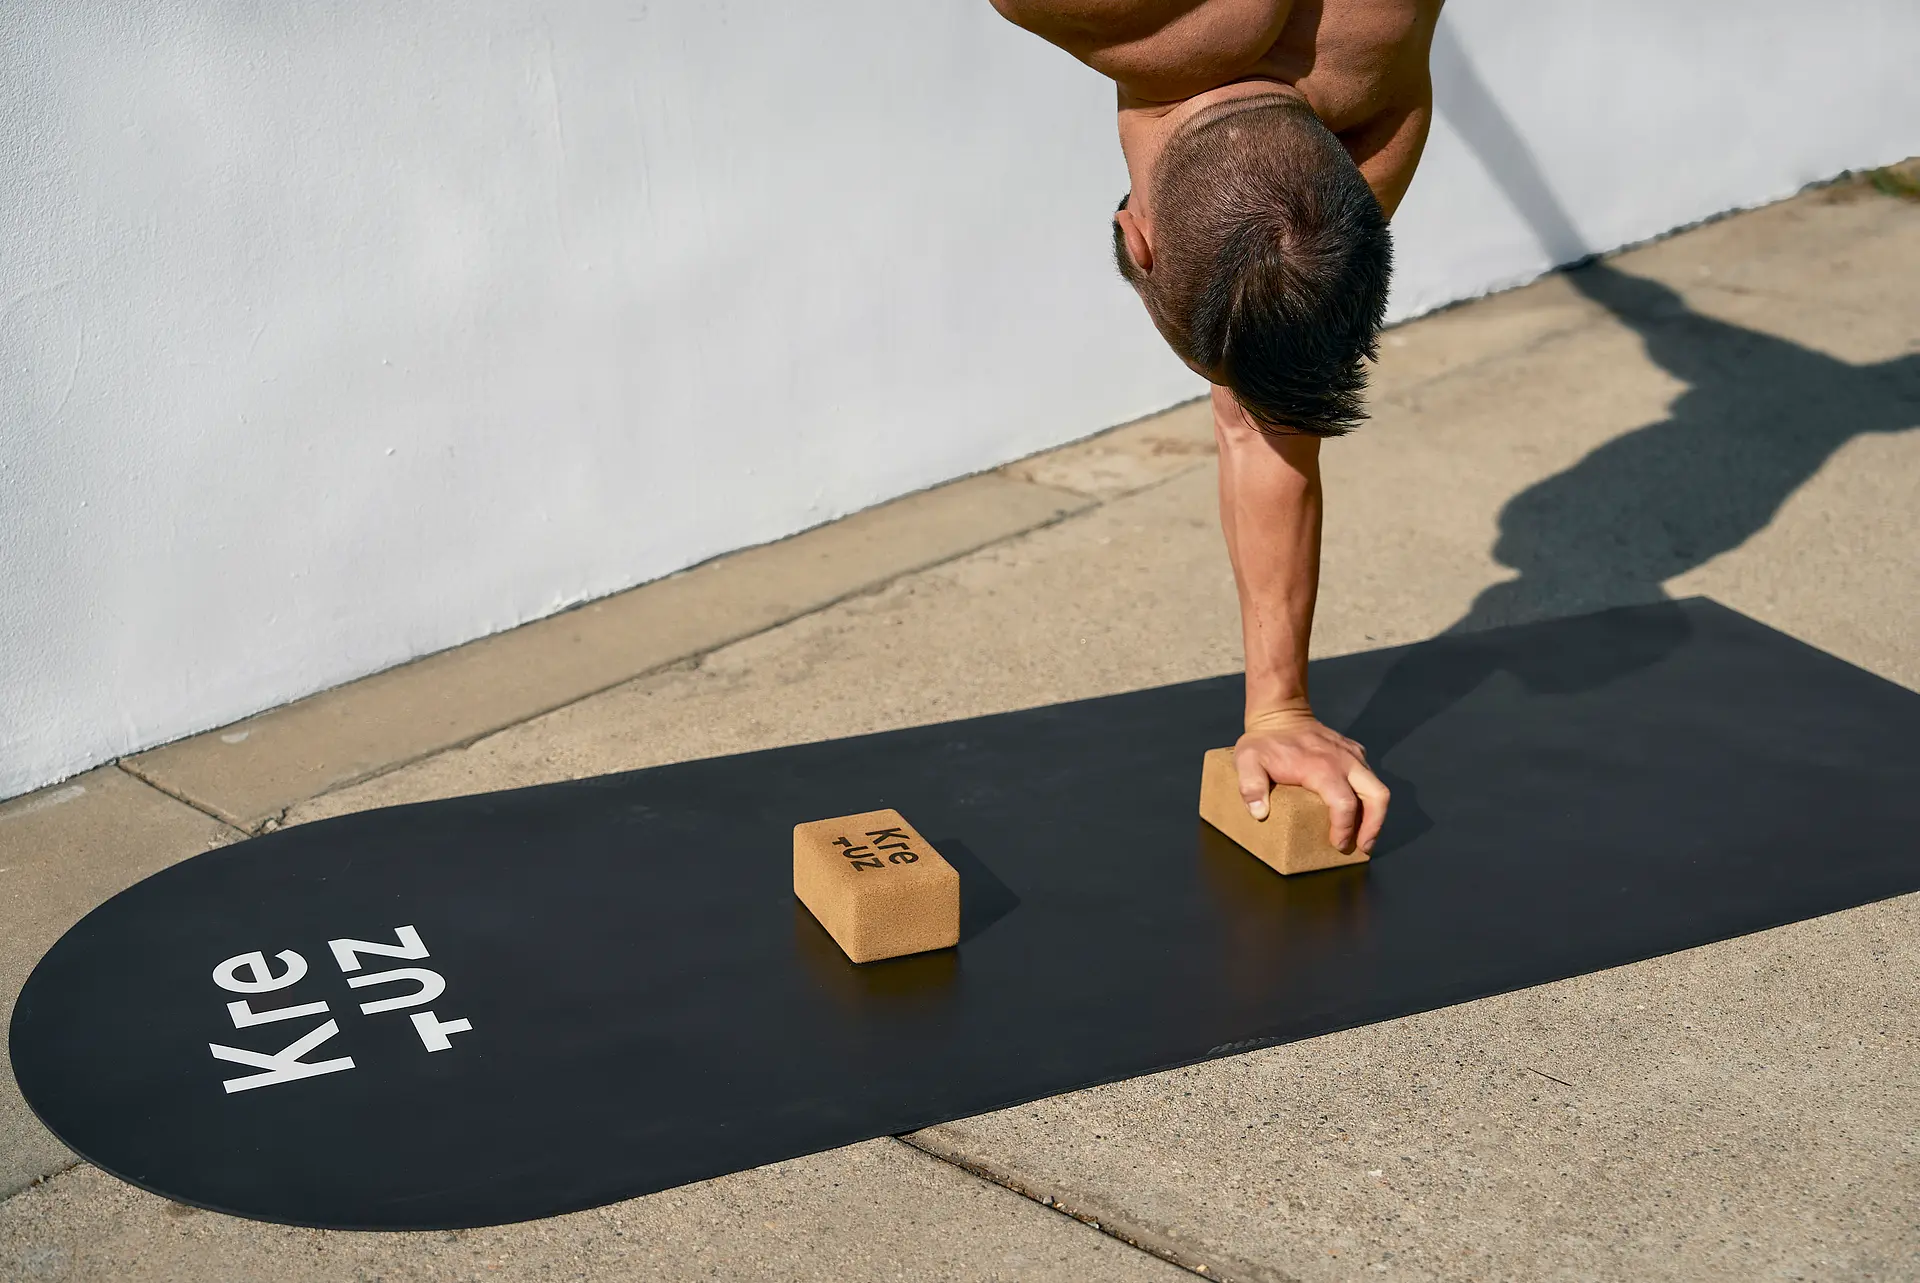
3.1. Building the Engine with Elbow Taps
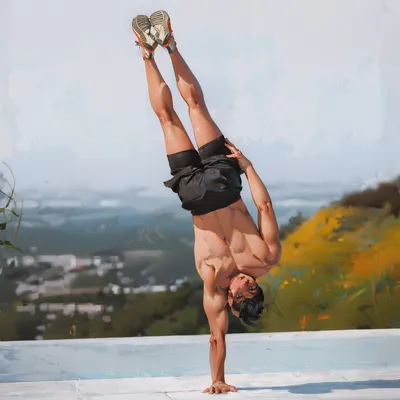
The Elbow Tap is the go-to preparation exercise for handstand walking, and for good reason. It builds specific strength while teaching you the rhythm and Weight Shift of the walk itself. Start in a strong Push Up position. Transfer your weight slightly to one side and dynamically lift the other hand to tap your opposite elbow. This tap must be quick and isolated. Nothing but your hand should move. Your hips and shoulders must remain perfectly square and stable. Once you master this, increase the difficulty. Find a chair or use a wall and perform the same drill in an L-Handstand. The final progression is the single-leg L-Handstand tap. Extending one leg up makes your body longer and the balance more fragile. This will demand immense engagement from your shoulders, core, and the elevated leg. The hips will move slightly, but your goal is to keep the top foot absolutely rock-solid.
3.2. The Wall as Your Coach
A strong, straight Handstand is the prerequisite for a strong, straight walk. The more comfortable you are inverted, the easier walking becomes. The Chest to Wall Handstand is your best friend here. Get as close as you can, with only your toes touching the wall. Look between your hands, lock your elbows, and push out as tall as possible. But the most valuable wall drill of all is the Slide Away. In your Chest to Wall Handstand, position your hands about 3-4 hand-lengths from the wall. Start in a diagonal line. Now, pull your shoulders forward, away from the wall, keeping your back and hips perfectly straight. The only angle change should be at the wrists and shoulders. The further you lean, the more your feet will un-weight from the wall until they peel off automatically. This exercise is pure gold because it directly mimics the movement pattern of catching your balance when you over-rotate in a freestanding attempt. It teaches you the precise control needed to truly master your walks.
3.3. Mastering the Mount and Walk Away
The hardest part of any handstand is often just getting into it. For handstand walking, I strongly recommend mastering the Tuck Up. It is simple, consistent, and leaves little room for error. Crucially, it keeps your feet together, placing you in the perfect position to start walking. Once your mount is solid, it's time to get serious. It's time for the Walk Away. This drill combines the Slide Away with Elbow Taps. You're going to take the weight off the wall, initiate a tiny lean, take two small steps, and then hold your Handstand again. For your first few attempts, use a crash mat and simply roll out after the steps. As you build confidence, the goal becomes to hold the Handstand after the steps. This demands immense control. The key is a minimal lean and tiny, precise steps.
3.4. Taking Flight in the Open Space
This is the final step. You must now reproduce what you've perfected at the wall in the open. The biggest new challenge is the mount. You no longer have the wall to cut out this variable. You must approach this with mental discipline. Separate the movements. First, focus only on the mount. Achieve a stable, controlled Handstand. Do not even think about walking until you are solid. If you are unstable before you even begin, you have already failed. Once you are stable, initiate that tiny, controlled forward lean with your feet, and take your first two small steps to catch yourself. Pause. Re-stabilize. Then, and only then, initiate the next lean. This separation of phases is the key to consistent, controlled walks.
4. Evolving Your Walk: Advanced Variations
4.1. Walking in Reverse
Let's not get bogged down in semantics. When we walk towards our back, we call it walking forward. Now, we will walk in the opposite direction—towards our stomach. This is backwards handstand walking, and it is significantly harder. Why? Because you have no fingers in that direction to act as a brake. This means your Technique must be flawless. You have to lean your feet even less—so little that a bystander might not even see it. Taking minuscule steps is absolutely vital. If you allow your feet to lean too far, even for a split second, you will have no chance to catch up. You will fall. This variation is a true test of your Fingertip Control and Proprioception.
4.2. Sideways and On Stairs
Walking sideways introduces a new challenge to your balance and is heavier on the body. The lateral Weight Shift from side to side must be slightly larger to clear the supporting hand, making the second step from a wide stance particularly difficult. Practice this at the wall first to master the timing and alignment. Finally, we have the Olympus of handstand walking: the stair walk. This is for advanced athletes only and presents an intimidating and genuinely dangerous challenge. Let's focus on walking down, as walking up is nearly impossible. Here, more than ever, slow is smooth, and smooth is fast. Once you lose control, it is gone for good. Start on the bottom step and practice just that single step-down. After many successful sessions, add a second step. Progress with extreme caution. Fear is your body's natural defense mechanism. If you are scared, you are not ready. Go back and build your prerequisites: Handstand Push Ups, regular walks, and general handstand control.
5. Walk Towards Mastery
5.1. Beyond the Party Trick
Mastering the Handstand Walk is about so much more than just a cool party trick. It is a powerful tool for physical development. You will forge immense upper body strength, particularly in the shoulders and arms. Your Core Stability will go through the roof. Your general Hand Balance will improve dramatically, and you will build a new level of [c]Coordination[/-c] and confidence upside down. The carryover to skills like the Stalder Press and even the Planche is undeniable, as you learn to manipulate your body's position in space with precision. Follow the principles laid out here. Understand the physics, forge an unbreakable structure, and drill the movements until they are second nature. The path is clear. Get to work.