3 Elite Wall Handstand Drills to Unlock Your Freestanding Hold
The wall is your most honest coach. Master these 3 elite drills to forge a rock-solid, freestanding handstand.
TABLE OF CONTENTS
1. Master the Handstand's Unforgiving Foundation
1.1. Why the Wall is Your Best and Toughest Coach
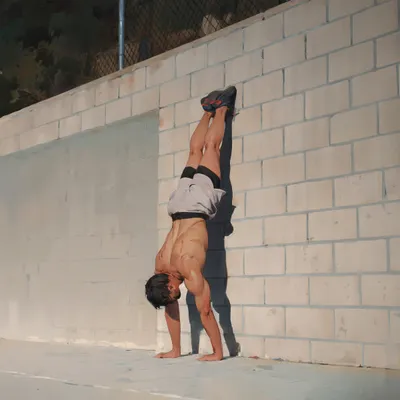
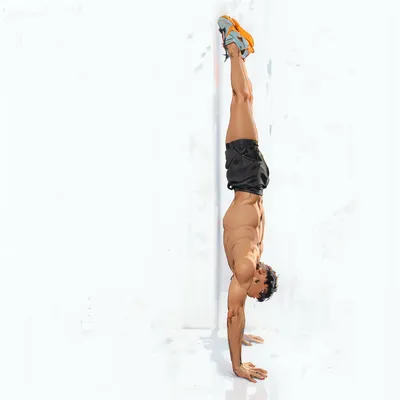
The Chest to Wall Handstand. Every single one of us started here. It is the non-negotiable foundation of all serious Hand Balance practice. It doesn't matter if you're fighting to take your first wobbly hold away from the wall or if you're refining your One Arm Handstand; the wall, with its vast library of drills and progressions, will forever be your most honest training partner. But that variety can be a curse. With hundreds of potential drills, choosing the right one for you is not just important—it's essential. Deciding for the best one is impossible, but finding the one that attacks your specific weakness is the secret to real progress. Training the Handstand against the wall is absolutely critical for anyone serious about building elite upper body Strength and Coordination. Spending quality time upside down here is where you forge the perfect line and build the raw Work Capacity needed to own the skill in the open. Don't be fooled into thinking it's just for beginners; advanced athletes return to the wall constantly to refine Technique and build specific strength.
1.2. Decoding Your Handstand Weaknesses
To conquer the Handstand, you must understand its components. You need immense upper body and core Strength, unwavering leg stability, and a sharp sense of balance, or Proprioception. The wall allows you to isolate and hammer these components one by one. But first, you have to become your own coach. You must get brutally honest about your weak spots. Are your shoulders collapsing? Is your back arching into the dreaded Banana Handstand? Is your Scapular Elevation non-existent? Film yourself. Compare your attempts to reference videos. Check if your hips are stacked over your hands, if your elbows are locked, and if you maintain total body tension. Once you identify the leak, you can select the drill that plugs it. Every single exercise can be adjusted to any level. That’s the beauty of this work. You can always make a drill easier to focus on form, or harder to forge new Strength.
2. The Elite Drill for Coordination and Control: Single Leg Tuck Slide
2.1. How to Execute the Single Leg Tuck Slide
This drill is a masterclass in full-body Coordination. While it can be scaled for absolute beginners, we're focusing on the version that demands more. It will test your upper body Strength and your ability to maintain a rigid line under pressure. To begin, place your hands on the floor. Align your shoulders and hips not just over your wrists, but over the center of your hands. This is a critical detail for balance. Instead of placing the soles of your feet on the wall, point your toes so you can slide on the top of your foot. From this solid base, bring one foot away from the wall and stack it directly above your hands, shoulders, and hips. Now, the work begins: pull the knee of the foot that remained on the wall straight down, then drive it back up along that same vertical line. Your lower back must remain brutally straight, even in a slight Anterior Pelvic Tilt. Nothing moves except for the working leg. Your shoulders, hips, and the top leg must be locked in stone.
2.2. Why This Drill Forges a Rock-Solid Handstand
The Single Leg Tuck Slide is punishingly effective because it forces you to manage your Center of Mass with extreme precision. It's a direct assault on your full-body Strength, balance, and weight distribution. Every wobble is a lesson. Every messy rep is feedback. Perfecting this movement translates directly to the control required for a freestanding Handstand, teaching your body how to make micro-adjustments and maintain tension when one limb is in motion. It's the perfect drill to place at the beginning of your workout when you're fresh and your mind is sharp, ready to dial in that crucial Upside Down Awareness.
2.3. Common Mistakes and Regressions
Two primary failures plague this exercise. The first and most critical is in the shoulders. They must stay stacked over the center of your hands. If you lean them towards the wall, your line will inevitably arch. You'll lose that fingertip-heavy connection to the ground and bleed control. The second error is forgetting the top leg. It’s incredibly difficult to keep it immobile. You might feel like it's perfectly still, but it's likely drifting. Film yourself to expose the truth. If you are not yet ready for the full version, that's fine. Regress to progress. Simply keep both feet on the wall, ankles together. This allows you to remove the balance component and focus exclusively on your shoulder position and hip control. This is the foundation upon which you'll build the more advanced variation.
3. The Ultimate Drill for Freestanding Power: The Slide Away
3.1. How to Perform the Slide Away
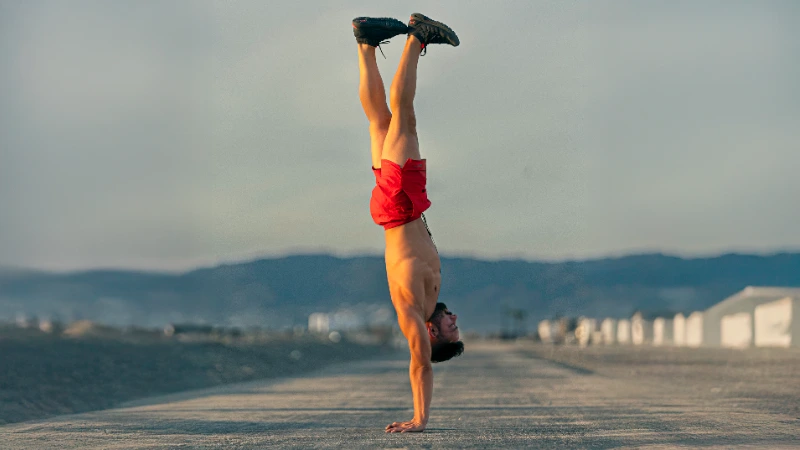
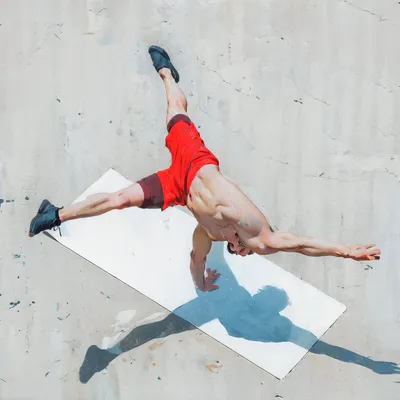
This is the one. My grandfather, the head coach of the East German gymnastics team, developed this drill. It is the ultimate tool to build ferocious Straight Arm Strength, to finally get away from the wall, and to learn how to save any and every Kick Up to Handstand. From your standard Chest to Wall Handstand, begin to lean your shoulders forward. Your body must remain a single, straight, unyielding line. Lean forward until your toes peel off the wall. As they lift, travel your hips back on top of your hands and simultaneously bring your shoulders back until everything is aligned in a perfect vertical stack. Hold here. Work on balancing. If you fear falling forward—and you will—place a mat behind you. This will give you the psychological safety to commit fully. No mat? Use a mattress. No excuses. This drill is your first real taste of freestanding balance.
3.2. The Transferable Power of the Slide Away
The Handstand Slide Away is the ultimate Compound Exercise for your inverted body. It forges your scapular muscles, arms, wrists, core, and legs. Whether you're a beginner or an advanced athlete, you will benefit immensely. This is the drill that unlocks your freestanding Handstand. Every single time you kick up or Press to Handstand, you must open your shoulders in the exact way this drill forces you to. Every time you lose balance and start to fall, you pass through this exact position to save it. Mastering the Slide Away is mastering the art of the save. A great way to measure your progress is by tracking the distance between your hands and the wall. The further away you can be while maintaining a perfect line, the stronger you have become.
3.3. Common Mistakes and Regressions
The most common error I see is the body breaking line. While this can stem from a lack of Strength, it's more often a failure of Coordination. Do not pike at the hips. Do not arch your back. You must relentlessly focus on your shoulders pulling forward while every other part of your body stays locked in formation. Another mistake is walking the hands. When you feel that urge to take a step, resist. That's a moment of lost control. Instead, fight for alignment using your Fingertip Control and wrists. For beginners not yet ready to take their legs off the wall, simply perform the first half of the movement. Lean forward, feel the pressure build, and then push the shoulders back up. Prepare your muscles. Do not rush into freestanding attempts. Spend the necessary time upside down. Your body will tell you when it's ready.
4. The Scapular Strength Builder: L-Handstand Shrugs
4.1. How to Execute L-Handstand Shrugs
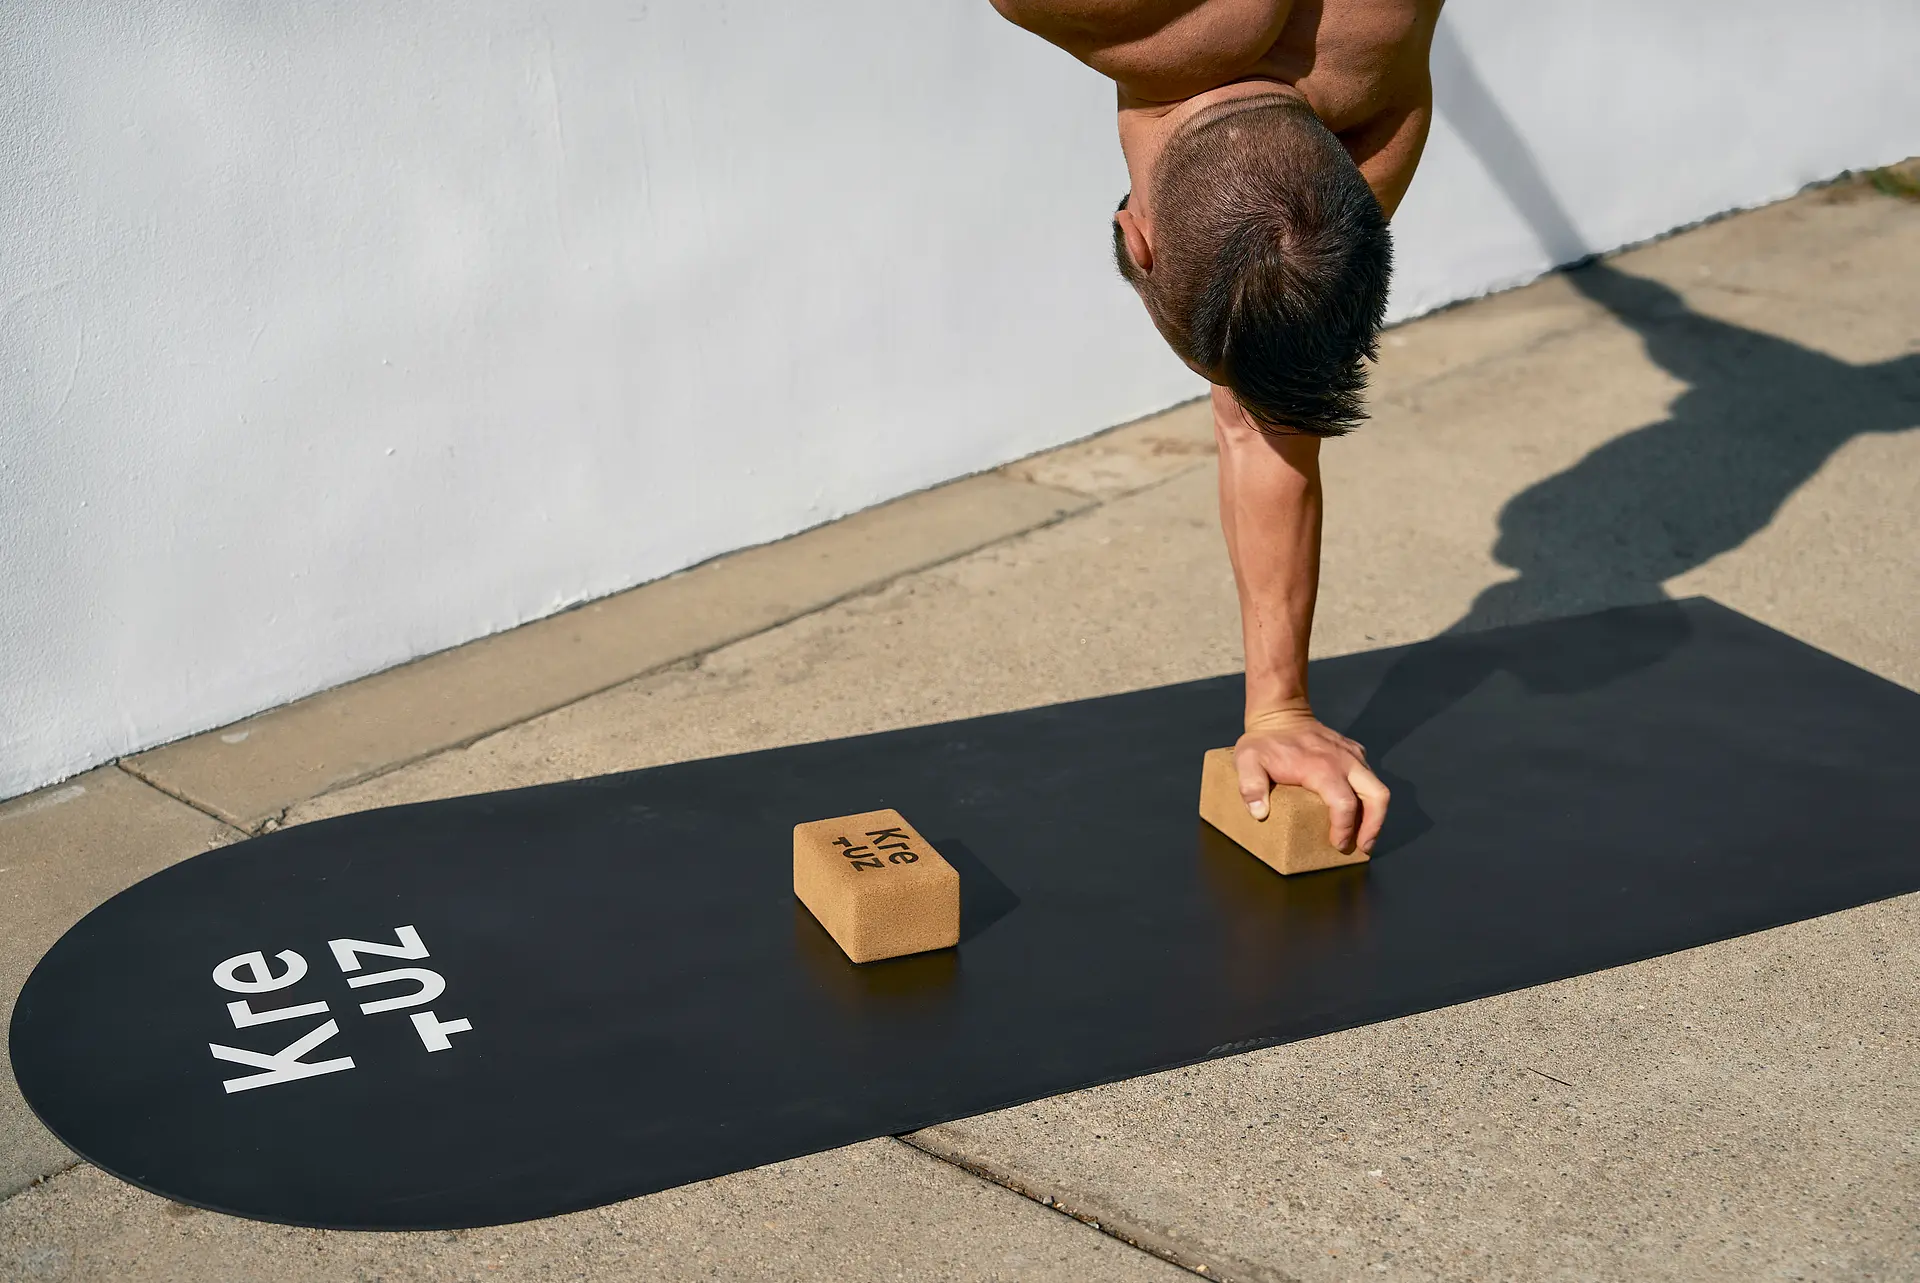
This final drill is the perfect fusion of Coordination and raw Scapular Elevation Strength. L-Handstand Shrugs will make your shoulders burn and teach you to engage your stabilizing muscles like never before. Walk up the wall and place your hands on the ground at a distance roughly equal to your leg length. Place the soles of your feet flat on the wall, creating an 'L' shape. Get stacked: shoulders over the center of your hands. Now, slowly lift one leg on top. Do not kick. Use slow, controlled strength, or you will lose your balance. Once perfectly aligned, sink slowly into your shoulders, and then powerfully push back out. Feel yourself getting taller through the shoulders with every single rep. Your legs must remain immobile and your core fully braced. Train both sides equally to avoid creating imbalances.
4.2. Why Scapular Elevation is Non-Negotiable
Scapular Control, and specifically Scapular Elevation, is the absolute key to the Handstand. Your stability and line are determined entirely by your shoulders' ability to elevate and stabilize. The L-Handstand Shrugs are so potent because they force you to not only push vertically through the full range of motion but also to balance three-dimensionally while doing so. You are lifting the entire weight of your body with the small, crucial muscles that create your handstand's structural integrity. Place one or two sets of these at the start of your workout to prime the muscles, but save the main volume for the end of your session to completely exhaust them and create the necessary stimulus for growth.
4.3. Common Mistakes and Regressions
The number one mistake here is speed. People rush. Only by moving slowly can you ensure your position remains consistent and you reap the full benefits. Go slow to go fast. Also, ensure your shoulders are moving on a purely vertical line. The tendency is to push the shoulders open into Shoulder Flexion instead of pure Scapular Elevation. Keep your arms stacked directly over your hands. If you are not yet strong enough for the single-leg version, you have options. You can work on just lifting the leg up and bringing it back to the wall, building the initial Strength and control. Or, you can regress the entire movement by placing your feet on a box or chair instead of the wall, reducing the forward pressure. For an even easier version, bend your knees on the box.
5. Build Your Dominance
5.1. Your Path to Handstand Mastery
You now have three powerful drills in your arsenal. The Single Leg Tuck Slide for Coordination, the Slide Away for freestanding transition, and the L-Handstand Shrugs for non-negotiable shoulder Strength. These are not just exercises; they are diagnostic tools. They will expose your weaknesses and give you the means to eliminate them. No matter your age, current fitness level, or goal, these drills and their progressions will make your Handstand better. Combine them. Create your own routines. Start with a thorough warm-up, focus on perfect execution, and adapt the difficulty to your level. The wall has shown you the path. Now you must walk it.
5.2. The Final Rep
Stop hoping for a better Handstand and start building one. The difference between the athlete who succeeds and the one who stays stuck is not talent—it's intelligent, consistent work. You have the tools. You have the knowledge. The only variable left is your effort. Stop making excuses. Stop waiting for the perfect moment. The wall is ready. Are you?
Get to work.