The 7 Components of a Perfect Handstand
Stop fighting your handstand. Understand its components, from fingertips to toes, and build it right.
TABLE OF CONTENTS
1. The Foundation: Your Connection to the Ground
1.1. The Wrists: Your First Line of Control
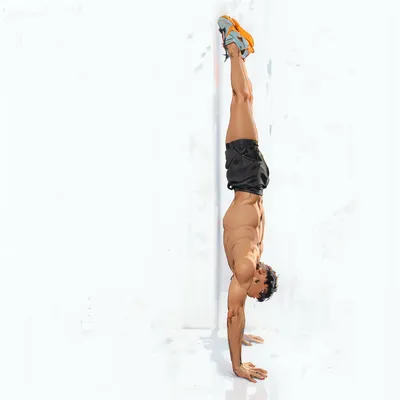
A Handstand can feel like a myth. You see it, you understand it, but when you get upside down, nothing works. This is not surprising. The skill must be learned. Your muscles need to be trained, your Joint Resistance must be built, and your Coordination must be developed. To train these components, you must first understand them. We start at the bottom.
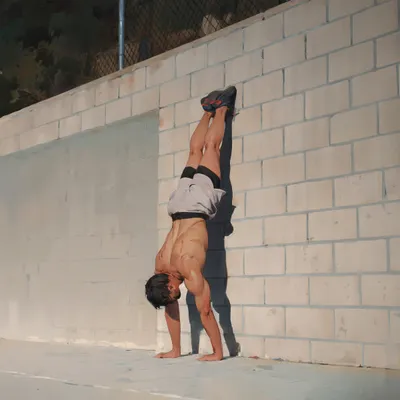
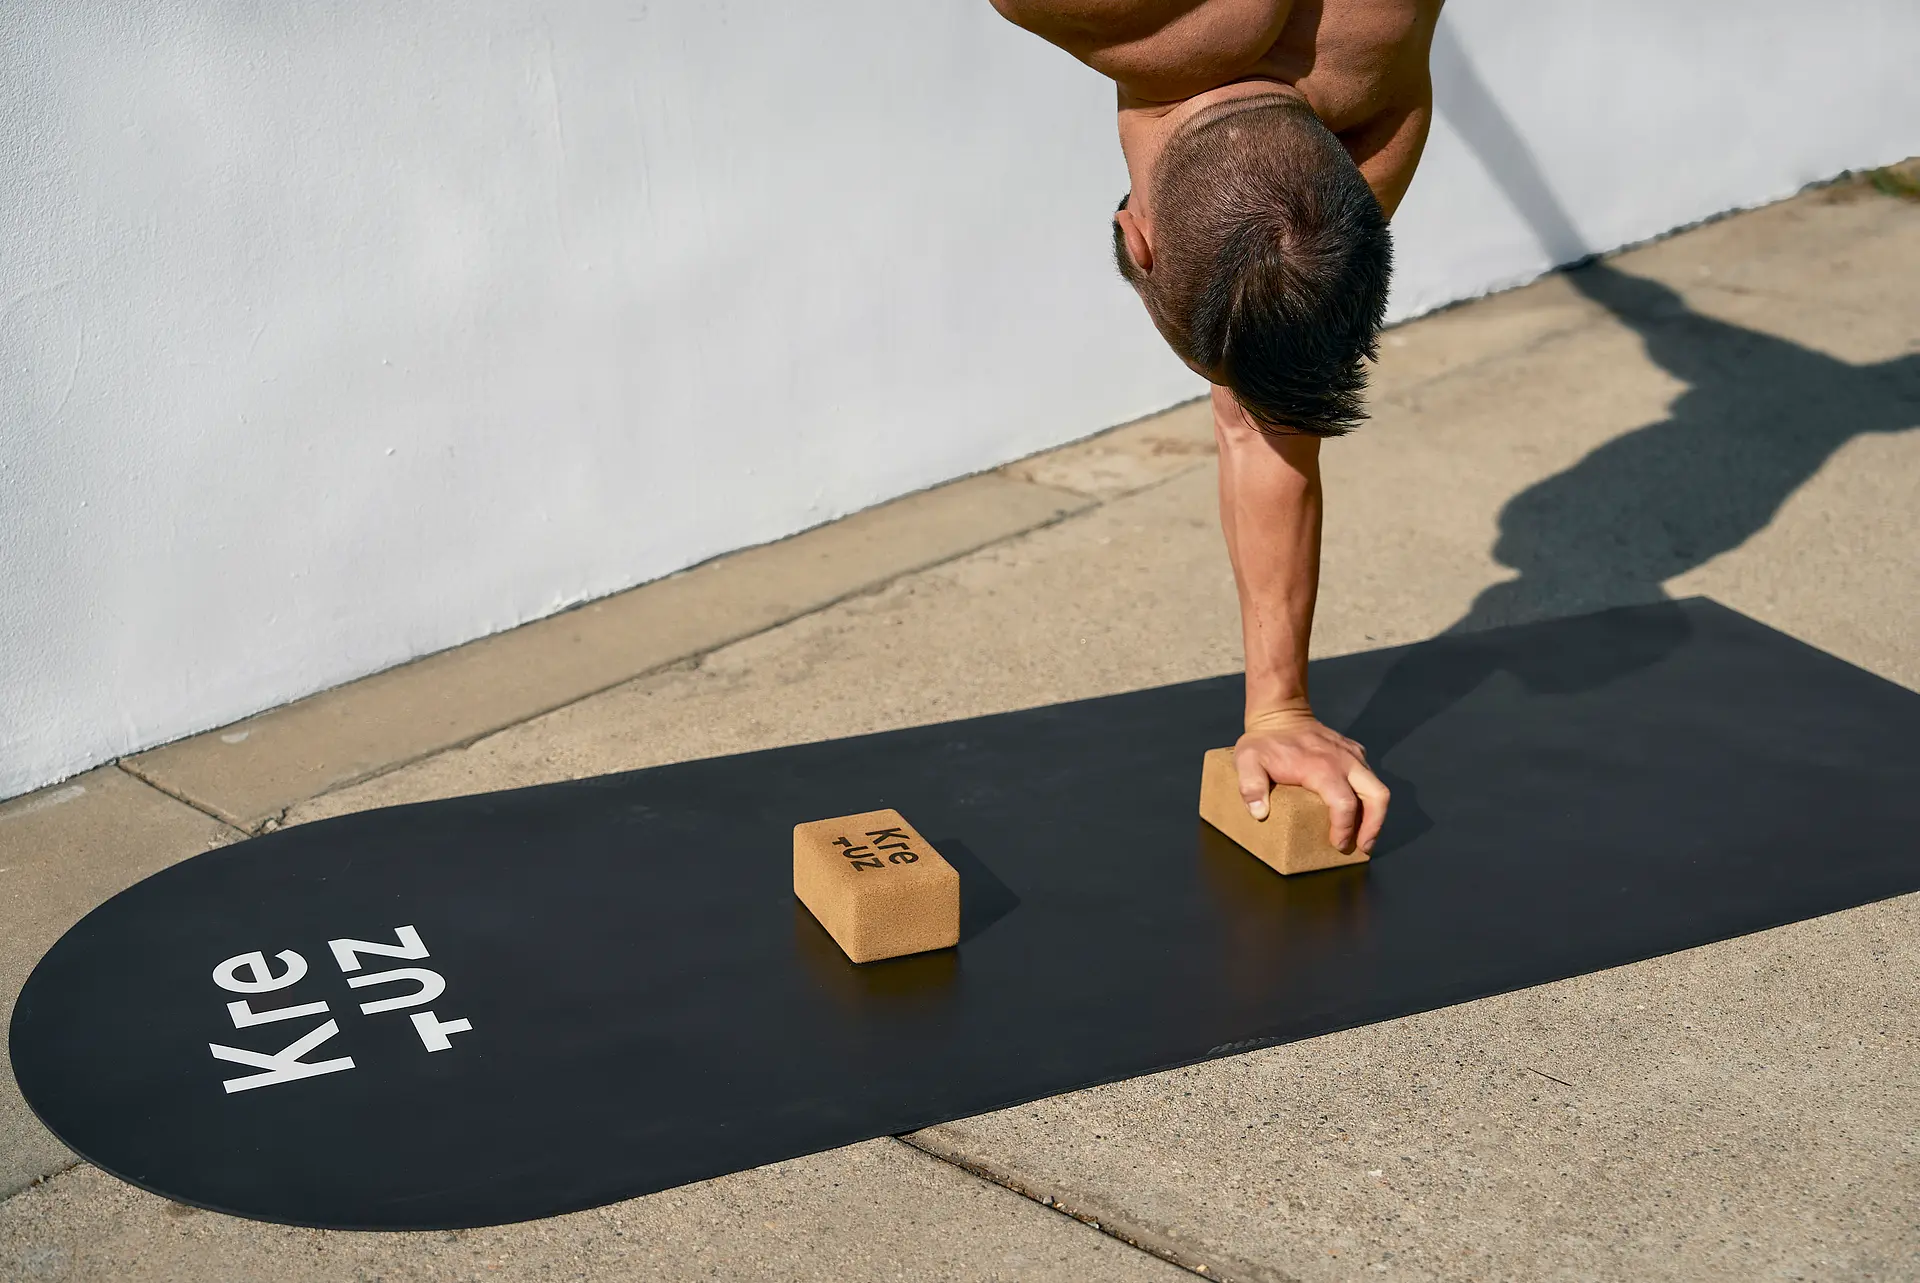
Your hands are your connection to the floor. They are your first line of control and balance. If you are unstable here, you will be unstable everywhere else. Place your hands shoulder-width apart. Your fingers should point straight forward. This provides the most stable Base of Support.
Understand that your wrists are complex. Many small bones exist in a very small space. You must be careful. If your wrists are stiff, you will need to mobilize them more before you train. You must understand why they are stiff. Is it muscle tension, or is it bone-on-bone contact? Muscle tension can be improved with massage, heat, and proper stretching. If you feel bone blocking the movement, do not force it. Instead, you can modify the angle by training on a decline surface, or on parallettes. This is a common issue for athletes who also train the Planche, where wrist stress is high.
If your wrists are naturally very mobile, you must focus on activation. Include more activation drills in your warm-ups. There is little muscle inside the wrist itself. You cannot “strengthen” the wrist. You can only strengthen the muscles of the forearms and hands that support it. This creates stability, but it also adds pressure. You must find the right balance for your body.
1.2. The Elbows: The Pillars of Your Structure
Lock your elbows. This is not a suggestion. It is a requirement. Once locked, rotate the pit of your elbow about 45 degrees forward. This engages the structure of your arm and shoulder for maximum Joint Stacking and stability. If your elbows bend, your position changes. Your entire structure begins to crumble. Imagine holding a half-squat while waiting for the bus. A bent-arm hold is exhausting and inefficient.
If your elbows do not lock, you must identify why. If it is muscle tension, your shoulders and biceps need to be stretched gently. If your elbows straighten but do not lock when you are upside down, you lack Strength and Coordination. You must regress. Go back to an easier progression like Pike Push Up negatives or Wall Walks. Perfect the basics. Allow your body to adapt.
If you have an anatomical issue or a past injury preventing a full lockout, see a professional. Do not mess with your elbows or knees. A slightly bent elbow is not broken. It is just slightly bent. If one elbow bends more than the other, place a small book under that hand. This levels your shoulders, allows for a proper push, and prevents a curve from forming in your spine.
2. The Control Center: Shoulders and Head
2.1. The Shoulders: The True Engine of the Handstand
Your shoulders are where the Handstand is won or lost. This is where most misconceptions exist. You do not need fully open shoulders. You need to push tall. This is Scapular Elevation. Even with slightly closed shoulders, you can achieve a One Arm Handstand as long as your scapula is elevated.
Scapular Elevation rotates your arm within the shoulder socket. This creates a stable, bone-supported foundation. If you simply open your shoulders into 180-degree Shoulder Flexion without elevating, your weight rests on the acromion. This small bone will get bruised. You will be sore.
When you first start, your shoulders might not elevate well. This is normal. You may need to develop Passive Flexibility through stretches. You will definitely need to build Strength, Coordination, and Body Awareness with active drills. Drills like Scapula Push Ups and wall-supported shrugs are not optional. They are mandatory.
2.2. The Head: Your Guidance System
Your head position is critical. You must pull it back slightly and look at your hands. Do not tuck your chin to your chest. Many athletes waste years fighting this simple rule. They try to prove they can balance without looking. They always come back and regret the wasted time.
Looking at your hands gives you visual feedback for balance. It allows you to use Fingertip Control to make micro-adjustments. But it does more than that. The body follows the head. Tucking your chin makes it harder to achieve proper Scapular Elevation. This leaves your Handstand fragile, inefficient, and unhealthy. Look at your hands.
3. The Kinetic Chain: Core, Legs, and Feet
3.1. The Core: The Connector
Many people will see a Banana Handstand and say, “Your core is weak, do more sit-ups.” This is usually wrong. Your Handstand is rarely failing due to a lack of core Strength. When you stand on one foot, your core does a similar amount of work as when you stand on your hands. The difference is that you are upside down. Your core has to learn to function inverted. This is a new skill. It is a matter of Coordination and Proprioception, not just raw power.
You will not have the mental capacity to think about your core when balancing. It must work automatically. This is built through practice. Incorporate gymnastic-style core drills into your training. Hollow Body Holds, Plank variations, and leg lifts are essential. They teach your midsection how to create and hold tension in a straight line.
3.2. The Legs: The Stabilizing Lever
Do not ignore your legs. They are not passive passengers. Your legs make up a significant portion of your body's length and weight. If your legs are not connected to the rest of the system, you will not be able to control your Handstand. If they move, you lose. You have to tighten up your legs. Squeeze them as if you are trying to press the water out of them. Point or flex your feet hard.
Just like the core, your legs must work on autopilot. There is no mental space to think about them when you are fighting for balance. Your brain must learn: hands on the floor means legs are tight. This is a non-negotiable neural connection you must build through thousands of reps. Squeeze them together. Do not allow them to move.
Flexible Hamstrings are not required to hold a Handstand. However, they make entries like the Kick Up to Handstand and the Press to Handstand much easier. Invest in your Flexibility from day one. Do not wait until your handstand is ready for advanced skills only to be held back by tight legs.
3.3. The Feet: The Final Detail
Your feet are the final link in the Kinetic Chain. Whether you point or flex them is a matter of aesthetic preference. But you must do one or the other. A lazy foot means a lazy ankle. A lazy ankle means a lazy calf, quad, and glute. This turns half your body into wobbly dead weight. It becomes a distraction, not a stabilizer. A fully engaged foot ensures the entire leg is activated, contributing to the Full Body Tension required for a stable line.
4. Master the Machine: Your Path to a Perfect Handstand
4.1. Unifying the Components
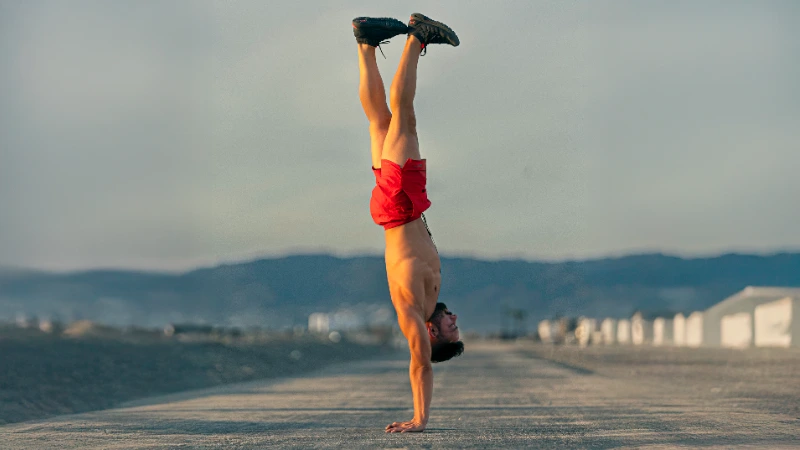
Learning a Handstand is an exciting, humbling project. The most critical takeaway is that the handstand is a full-body skill. It is not just about your arms and shoulders. Every component, from your wrists to your feet, must work in unison. A failure in one part of the chain will cause a collapse in the entire structure.
Your second takeaway is that Consistency is the only path to mastery. You must train these components deliberately. You must build strength, develop Upside Down Awareness, and forge the neural pathways that make these actions automatic. This is not achieved in a week or a month. It is achieved through dedicated, intelligent work over time.
Take it one step at a time. Get upside down, dominate each workout, and learn to control the machine that is your body.
Get to work.