The Ultimate Handstand Warm-Up for Peak Performance
Stop training handstands cold. This expert protocol unlocks stability, prevents injury, and accelerates your progress.
TABLE OF CONTENTS
1. The Undeniable Logic of a Primed System
1.1. Why Your Warm-Up Is Not Optional
Training Handstands is a relentless pursuit. You're not just fighting gravity; you're battling fatigue, micro-injuries, and the voice that whispers this skill is impossible. The line between a breakthrough session and a frustrating setback is often drawn before you even kick up. A superior warm-up is your tactical advantage. Forget the mindless jogging and arm circles. The goal is not merely to increase body temperature; it is to methodically prepare the muscles, joints, and—most critically—the mind for the precise demands of balancing your world on your hands. Every athlete loves to talk about the importance of warming up, but few truly internalize the 'why'. Let's be clear: skipping or rushing this process is an amateur mistake. It's a non-negotiable pillar of intelligent training.
1.2. The Shield of Injury Prevention
The most critical function of any warm-up is forging your armor. For handstands, the primary battlefield is the shoulder girdle. At the start of every single session, it is your absolute duty to engage the stabilizing muscles of the rotator cuff. This isn't just about avoiding a catastrophic tear; it's about building robust, resilient shoulders that can handle volume and intensity over years, not just weeks. Consistent prehab work has a powerful secondary benefit: it's a diagnostic tool. By performing the same focused movements daily, you become acutely aware of your body's state. If something feels off, tight, or painful during your prep, you've just received critical intelligence. You know instantly to dial back the intensity, focus on recovery, and heal a minor issue before it escalates into a major roadblock. This is the essence of athletic longevity.
1.3. Forging the Mind-Muscle Connection
A proper warm-up is as much a mental exercise as a physical one. It’s here you establish the neurological pathways for the session ahead. By using specific exercises that mimic the shapes and muscular engagement of higher-level skills—like activating the serratus anterior for Scapular Elevation—you're running a diagnostic on your system. This is where you calibrate your Proprioception. This combination of visualization, targeted engagement, and intense focus on your body's movement patterns makes it infinitely easier to isolate joints and command your limbs when upside down. Your brain needs to be warmed up just as much as your muscles. Never, ever underestimate the power of a focused mind.
1.4. Priming the Engine for Performance
Recovery is where you adapt, but some days, the machine just doesn't want to start. You feel stiff, sore, and the thought of training is draining. These are the days that separate the dedicated from the dabblers. Your warm-up becomes a transition protocol. It's the sequence that methodically brushes away the mental fog and coaxes your body into a state of readiness. If you are sore, a well-designed warm-up increases blood flow, reduces stiffness, and prepares the tissue for the work to come. It’s the ritual that signals to your body and brain that it is time to perform. For some, it's the first sip of pre-workout; for others, it's the first beat drop in their headphones. Find your switch, and build your warm-up ritual around it. Consistency here breeds consistency in your skills.
2. The Blueprint: A Step-by-Step Handstand Warm-Up
2.1. General Preparation (10-20 min)
Every session must begin with a general warm-up. The objective is to elevate your core temperature and break a light sweat, not to exhaust yourself. Think low-impact, rhythmic activity. Five to ten minutes of Rope Skipping, a light jog, or cycling is perfect. This is also an opportune moment to integrate supplementary work. If your core is a weak point, slot in a few sets of Hollow Body Holds or V-Ups. Be efficient; make every minute count.
2.2. Leg Mobility (Optional: 0-40 min)
This component is optional but highly recommended. The more flexible your Hamstrings and hips are, the more efficient your handstand line and entries like the Press to Handstand will become. A powerful principle of Flexibility is that post-stretching, your range of motion remains enhanced for up to 45 minutes. Your body is already warm from the general prep; capitalizing on this state for mobility work is a strategic move. Investing an extra 10-40 minutes here will pay significant dividends in your handstand session.
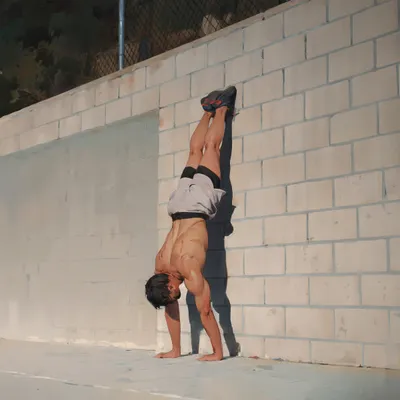
3. The Non-Negotiables: Critical Handstand Prep
3.1. Shoulder Prehab (10 min)
This is the one component you never skip. This is where you pay respect to your rotator cuff. Protect it, monitor it, and strengthen it. This part of your warm-up does not need to be long, but it demands your absolute, razor-sharp focus. Think targeted external and internal rotation exercises, light-banded face pulls, and scapular-focused movements. This is your insurance policy against injury.
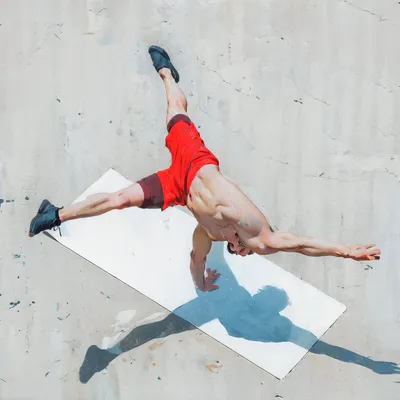
3.2. Core Activation (5 min)
I maintain that the handstand is not primarily about raw core strength, but it absolutely demands Core Stability and coordination. Your core is the transmission that connects your powerful shoulders to your legs. It must learn to stabilize your body in a completely new orientation—upside down. The best way to train this is by doing more handstands, but you can dramatically shorten the learning curve by pre-activating the correct Movement Pattern in every warm-up. Drills like the Hollow Body Hold or bird-dog planks are perfect for waking up the deep stabilizers.
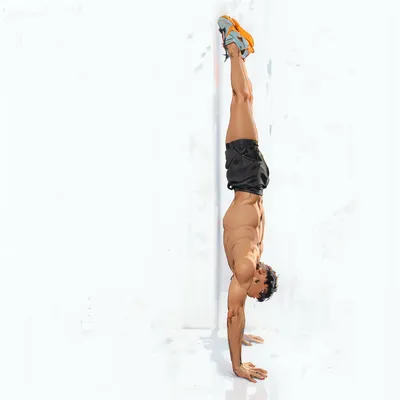
3.3. Shoulder & Scapula Mobilization (0-20 min)
This is another component that depends on your individual needs. If your shoulders are stiff and you struggle to achieve full Shoulder Flexion, you will inevitably compensate with a 'banana back' (Banana Handstand). To fight this, you must consistently include passive and dynamic shoulder stretches combined with specific drills for Scapular Elevation. Pushing tall into the handstand is a skill. Practice it on the floor first. You will see small, immediate improvements that will help your upcoming session, but real, lasting change comes from consistency over a 10-week period.
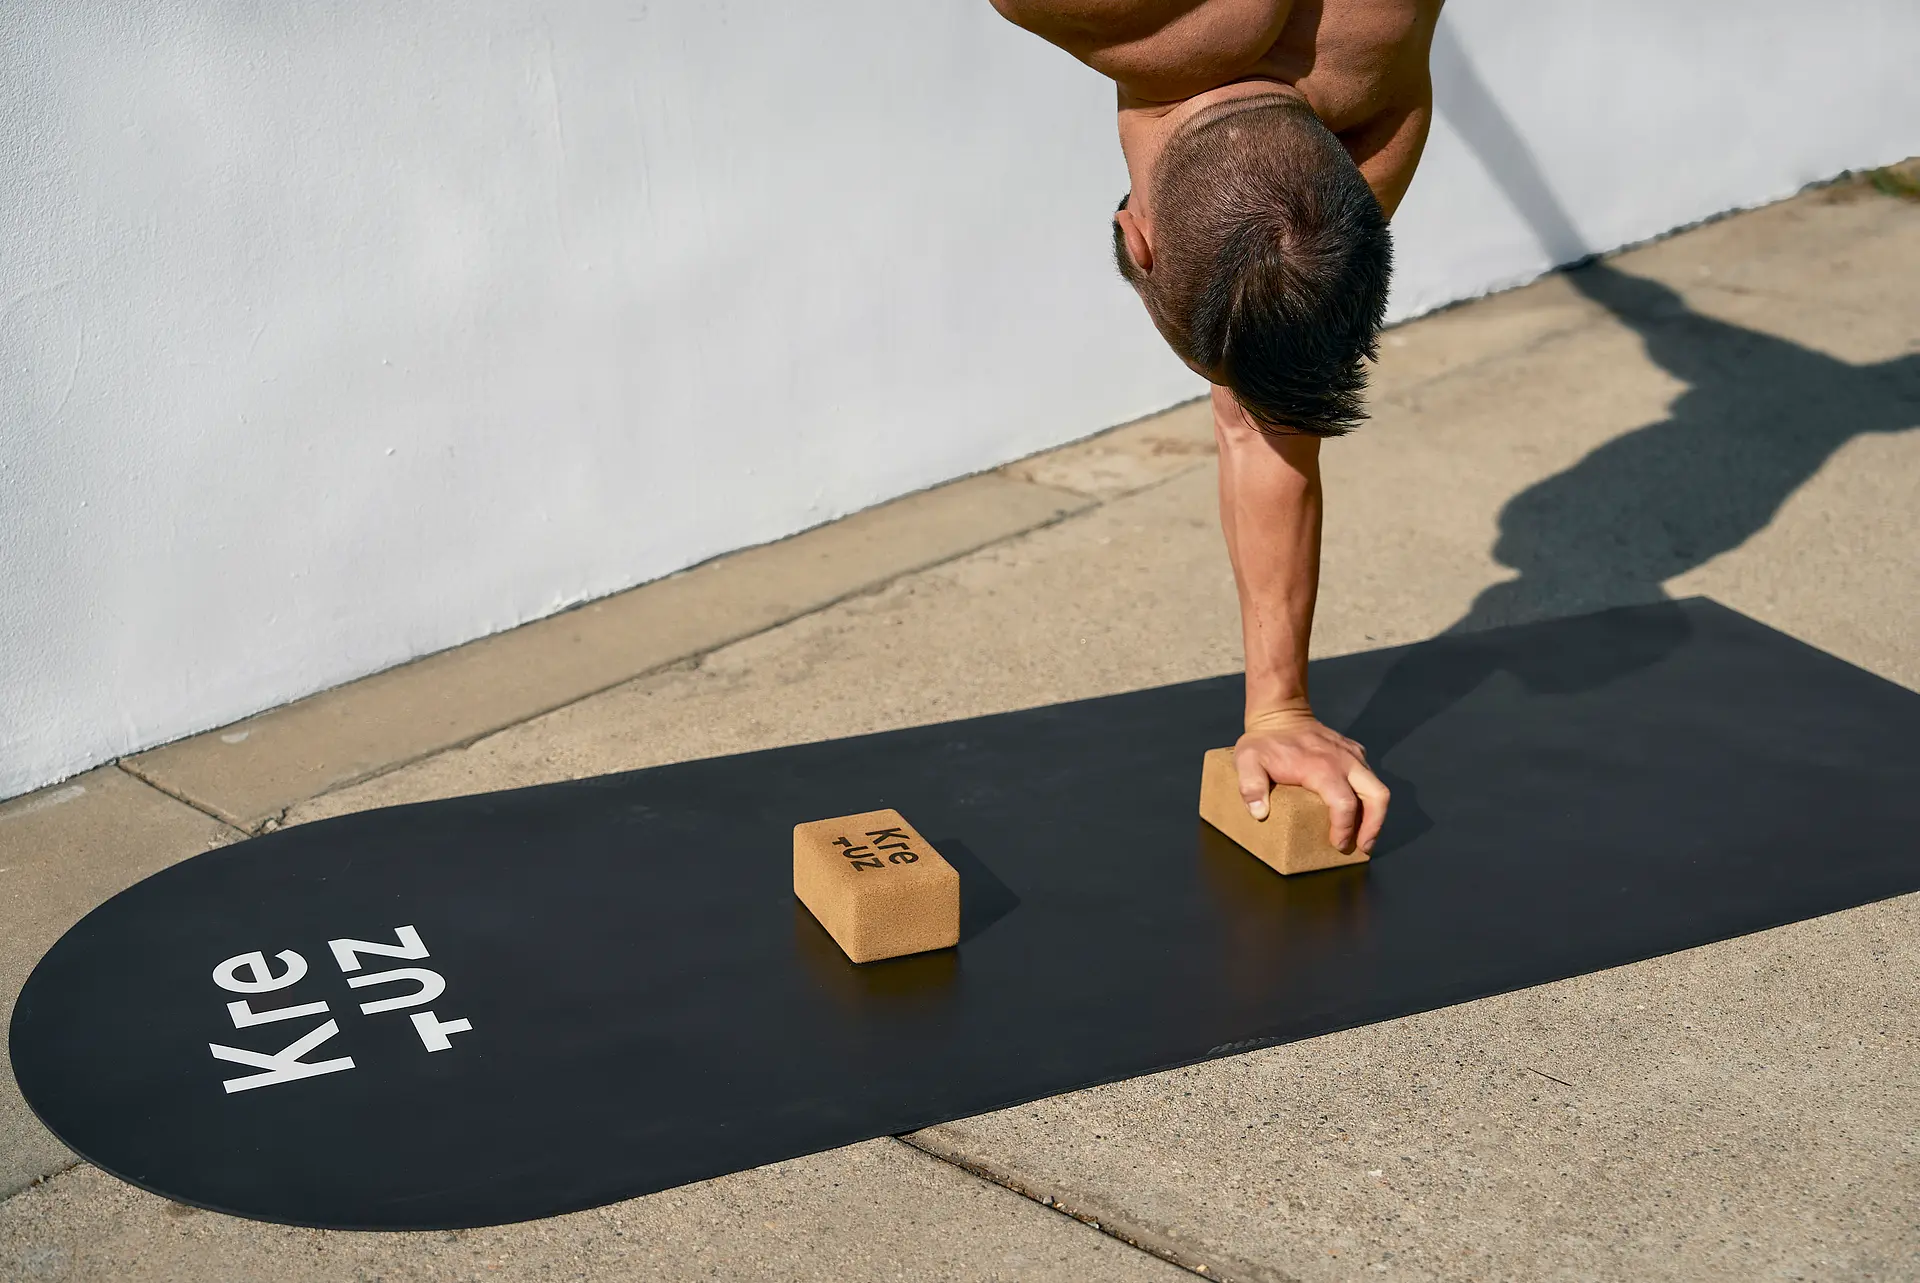
3.4. Wrist Mobilization & Activation (2-10 min)
How you prepare your wrists is highly individual. My wrists, for instance, are notoriously stiff. I cannot even hold a Push Up position comfortably without significant mobilization beforehand. For those with stiff wrists, focus on gentle stretching to increase your usable range of motion. Conversely, if your wrists are hypermobile, your focus should be on activation work to build stability around the joint. I do not advocate for aggressive 'wrist conditioning' that simply fatigues the forearm muscles. The goal is preparation, not pre-exhaustion.
4. Execute and Dominate
4.1. Your New Standard
There it is. A complete, logical framework for preparing your body to dominate the Handstand. You are warm, prepared, and mentally engaged. It is “go time”. Treat this protocol, or one structured like it, as an indispensable part of your training. Integrate it at the beginning of every single handstand workout. I guarantee your rate of progress will accelerate, you will feel more confident and controlled on your hands, and most importantly, you will build a body that is resilient and healthy for the long haul. Now, get to work.