The Ultimate Press to Handstand Workout Blueprint (2024)
Stuck on your Press to Handstand? Your workout is likely missing these key elements. Here’s the fix.
TABLE OF CONTENTS
1. Deconstructing the Press to Handstand
1.1. The Ultimate Test of Control
Learning to Press to Handstand is a humbling experience. There's no hiding. It ruthlessly exposes every gap in your training, combining raw Straight Arm Strength, deep Flexibility, and precise Movement Pattern execution on a level few other skills demand. The requirements aren't just high; they're incredibly varied, making the journey feel overwhelming at times. But here's the truth: overwhelm comes from a lack of clarity. Today, we dismantle the complexity. We will break down exactly what you must train to earn your press, and how to forge the perfect workout to get the most out of every single session. Forget guesswork. It's time for a plan.
1.2. What is a Press to Handstand?
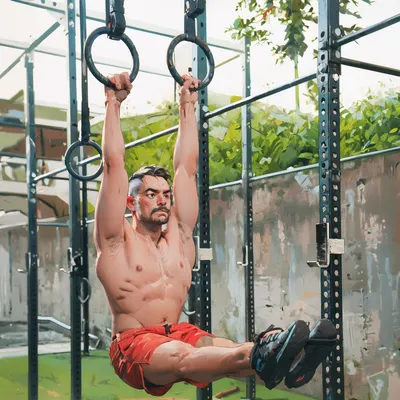
The Press to Handstand is a pure Straight Arm Strength skill. The objective is to transition from your feet to a freestanding Handstand without jumping, keeping the arms completely locked out. This movement is the epitome of efficiency and control.
A press can be performed passing through a deep straddle, arriving in a Straddle Handstand. Alternatively, it can be executed with legs together, passing through an L-Sit or piked position, known as a Pike Press to Handstand. The difficulty can be manipulated through Progressive Overload: make it easier by elevating the feet to shorten the range of motion, or make it harder by starting from an L-Sit or Stalder Press position, elevating the hands, or adding ankle weights.
2. The Pillars of Pressing Strength
2.1. Pillar 1: Hamstring Mobility
Let's be clear: hamstring Flexibility is king. It's not just a component; it's a force multiplier. The more flexible your hamstrings, the higher your hips will be at takeoff. This simple mechanical advantage means your hips travel a shorter distance, requiring significantly less forward lean from the shoulders. More Compression ability translates to less pressure on your wrists and shoulders, making your press look—and feel—effortless. This isn't just about stretching; it's about building a Usable Range of Motion that directly fuels your strength.
2.2. Pillar 2: Shoulder & Back Strength
No amount of Flexibility can entirely negate the need for raw power. You must possess the Shoulder Flexion strength to transfer your entire body weight from feet to hands. If your hamstrings are stiff, your shoulders will have to work overtime to compensate. Foundational strength can be built with progressions like the Pike Push Up and basic Planche work, such as the Tuck Planche, but press-specific conditioning is non-negotiable.
But here's the often-overlooked secret weapon: your back. It is the critical link in the Kinetic Chain, connecting your shoulders to your hips and providing the power to pull your hips up and over. The goal is to use your lower back muscles to initiate a powerful Anterior Pelvic Tilt, a movement demanding a union of Mobility, coordination, and strength. You must train this in isolation to master it.
2.3. Pillar 3: Compression and Control
While hamstring mobility is king, active Compression is the queen that holds the court together. It's the ability of your hip flexors and core to aggressively pull your legs into a tight, compact shape. However, don't fall into the trap of over-prioritizing it. Your hip flexor strength will never overcome the mechanical resistance of tight hamstrings. For most, investing more time in unlocking hamstring mobility will yield far greater results than punishing yourself with endless V-Ups and Hanging Leg Lifts. The goal is balance, not brute force.
Finally, all this work culminates in one thing: the Handstand. You can press up, but can you stay up? On top of everything else, your training must include dedicated Hand Balance work. Mastering Fingertip Control and owning a stable, freestanding Handstand is the final piece of the puzzle.
3. Forging Your Ultimate Press Workout
3.1. The Warm-Up Protocol
Every single workout begins with a warm-up. This is non-negotiable. Your goal is to prepare the body for the immense pressure it's about to endure. Break a light sweat, activate the specific Movement Patterns you'll be using, and establish a powerful Mind-Muscle Connection. This should not tire you out; it should prime you for peak performance.
Your first priority is bulletproofing your joints. The best way to recover from an injury is to never get injured. Dedicate 5 minutes to targeted injury prevention for your wrists and shoulders, focusing on rotator cuff exercises and wrist mobility. If you struggle with a banana-back Handstand, this is the perfect time to integrate targeted Shoulder Flexion stretches paired with active Scapular Elevation work.
3.2. Technical Mastery and Mobility
With your body primed, it's time for technical work. This block can range from two quick sets to a full 45-minute Hand Balance session. You are warm and focused—exploit this state to improve your Handstand control. To make it press-specific, focus on drills like Straddle Jump To Handstand and leg isolations like the Single Leg L. Just ensure you leave enough gas in the tank for what comes next.
Now, it's time to stretch. Put on warm clothes. We are going to temporarily increase your end-range of motion to gain a crucial advantage. For the next 20-40 minutes, your mobility is at its peak. We will use a combination of passive holds and PNF stretches to mobilize your hamstrings for the Pike Fold and Pancake.
3.3. The Pressing Zone: Skill & Conditioning
You are at the apex of your session. Your handstands are sharp and your muscles are pliable. If you're going to hit your first press, it will happen right now. You have a 20-minute window before that temporary flexibility fades. Do not waste it.
Begin with your most challenging technical Press to Handstand progression. This could be a Press to Handstand from a Box, a Bench Zombie Press, or a wall-assisted negative. This is your moment to push boundaries. Remember, this is still technical training. We are not aiming for burnout—not yet.
With the technical work complete, we move to conditioning. Now, it's time to forge the raw strength. Systematically finish off one body part at a time. Start with shoulders, focusing on takeoff drills like Walking Deads and Planche progressions like Assisted Tuck Planche lifts. Follow this with your current Handstand Push Up progression. Then, attack your Compression strength with drills like L-Sit progressions, Hanging Leg Lifts, and V-Ups. Stay consistent, but keep it fresh. After the session, perform some light post-workout stretches for your wrists, hip flexors, and anterior deltoids to aid recovery.
4. Adapting the Blueprint to Your Body
4.1. The Strong & Stiff Athlete
Your advantage is power. Your weakness is an inability to compress. Stiff hamstrings are holding you back, forcing you into a less efficient press with a significant shoulder lean. The solution is clear: you must stretch more. Take the mobility portion of this workout and perform it two additional times per week. Make these dedicated flexibility sessions. Your primary mission is to unlock your hamstrings.
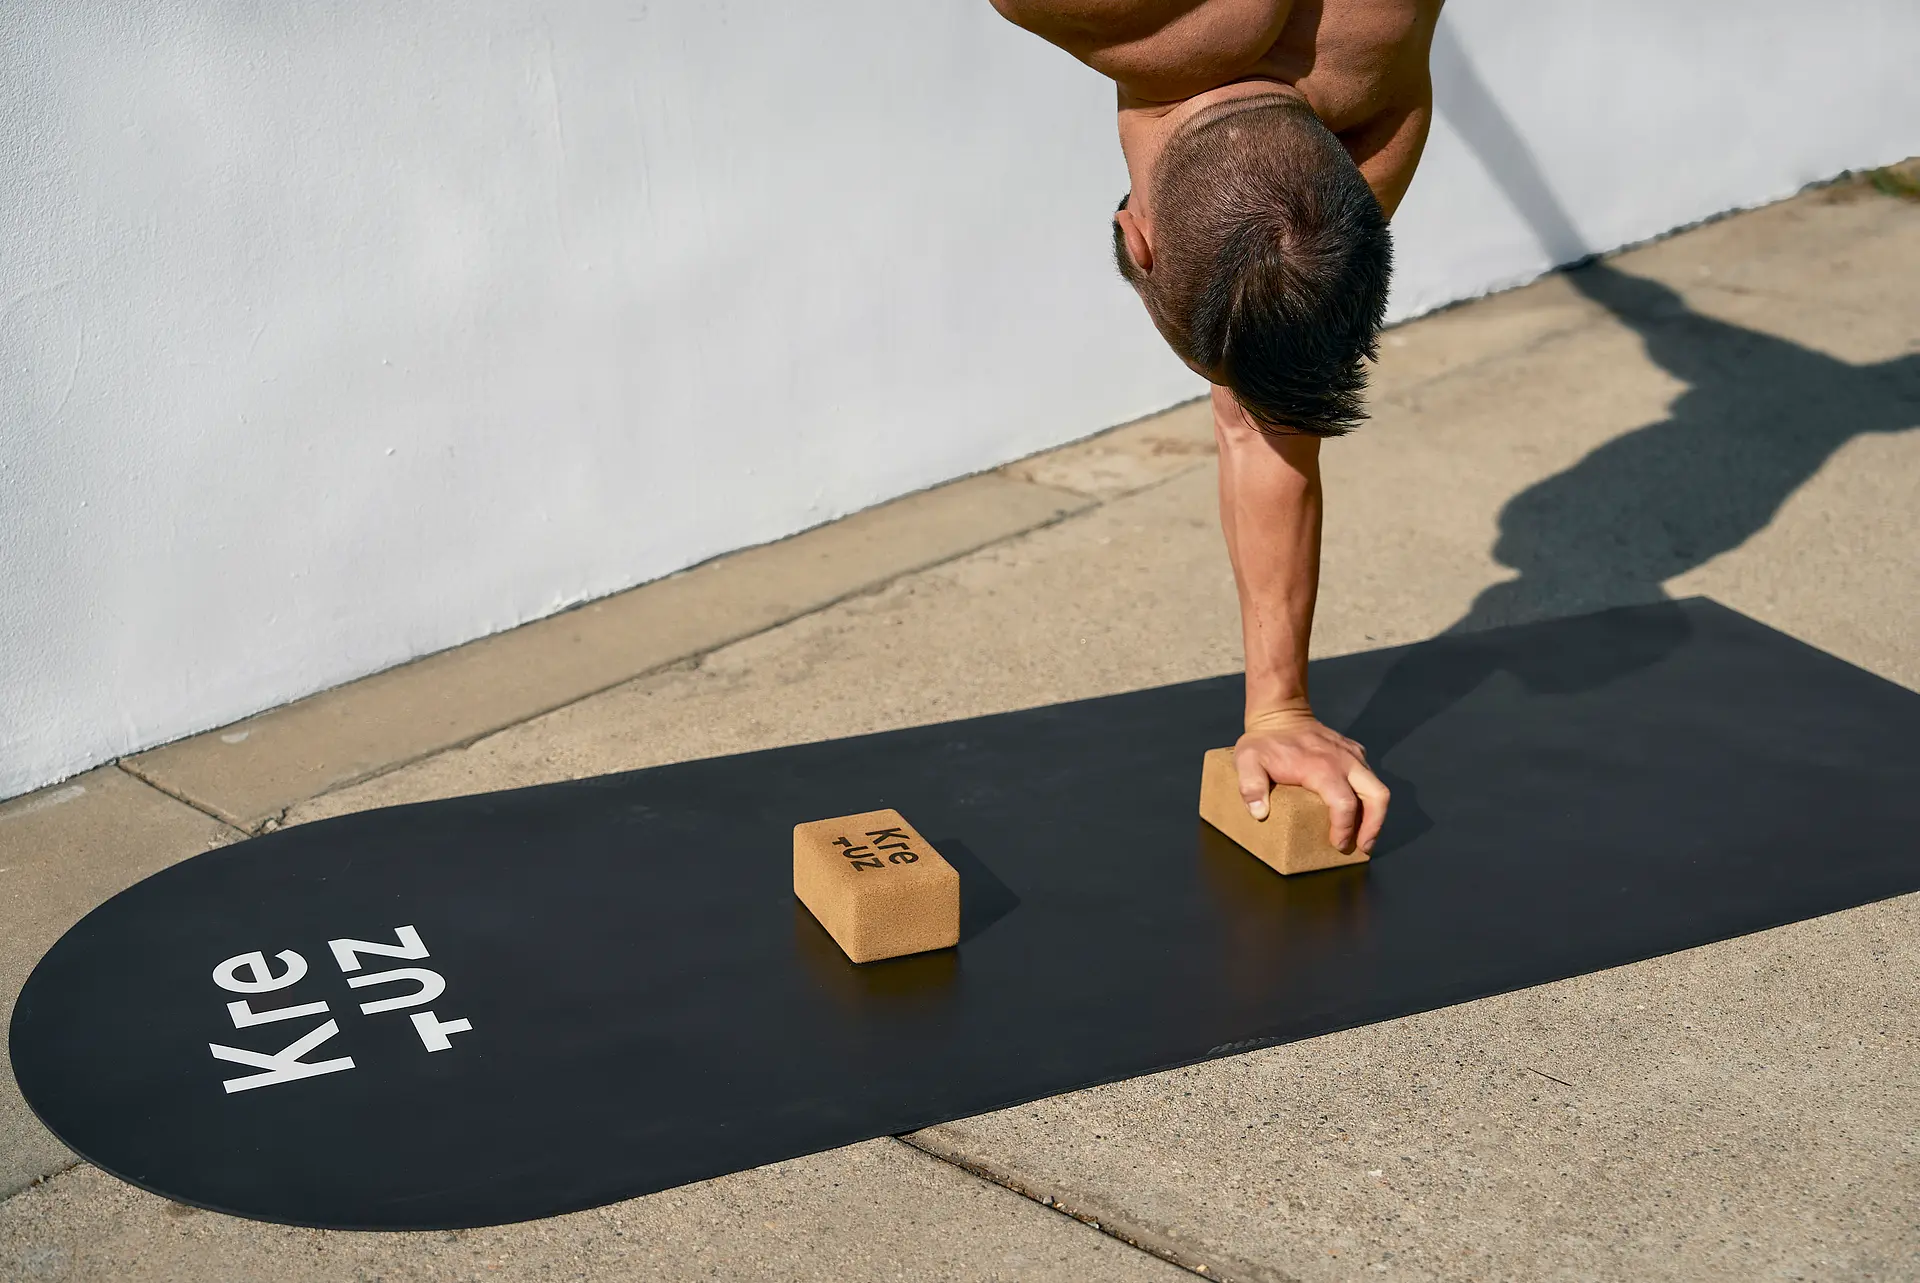
In the meantime, use your surplus of strength. Accept the forward lean, but protect your wrists by training on Parallettes. This will mitigate the acute angle and allow you to keep training hard while your Flexibility improves.
4.2. The Mobile & Less-Strong Athlete
You can fold in half with ease. Your hips stack effortlessly over your hands, allowing you to almost bypass the difficult takeoff phase. Your challenge isn't getting up; it's controlling the position. You are too mobile to hold the final, rigid line of a straight Handstand. Your mission is to get much stronger.
Three full-body workouts per week are your new standard. This can be bodyweight-focused conditioning done after your press workout, or it can be separate sessions using free weights. Building raw strength will take time, but understand this: once you can control your mobility, you will unlock a variety of skills that stiffer athletes can only dream of.
5. Forge Your Path to the Press
5.1. Splitting the Path
Sometimes, a single, long workout doesn't fit your life. That's fine. Splitting the workout into multiple parts can be an incredibly effective strategy. One of the best splits is dividing your training into days you place weight on your hands and days you don't. This allows you to train with high frequency while giving your wrists and shoulders ample time to recover. For example: Day 1 could be wrist prehab, handstand technique, and shoulder conditioning. Day 2 could be your deep Flexibility work, technical press drills on your forearms, and Compression training. Follow this split to build your base, but as you get closer to your first full press, return to the integrated workout to peak at the right time.
5.2. Your Mission, Should You Choose to Accept It
The Press to Handstand may seem overwhelming, but it is not an unbreakable code. It's a lock, and you now hold the keys. The path is brutally honest but simple: analyze what you need, create a precise plan, and execute it with relentless consistency. The feeling of floating off the ground for the first time is a reward worth every second of the effort. Understand the principles, adapt them to your body, and build your press.
Get to work.